Stage 6: Kinetic KillWall
Make sure you've finished Stage 5: Rolling Rocks & Spinning KillBricks.
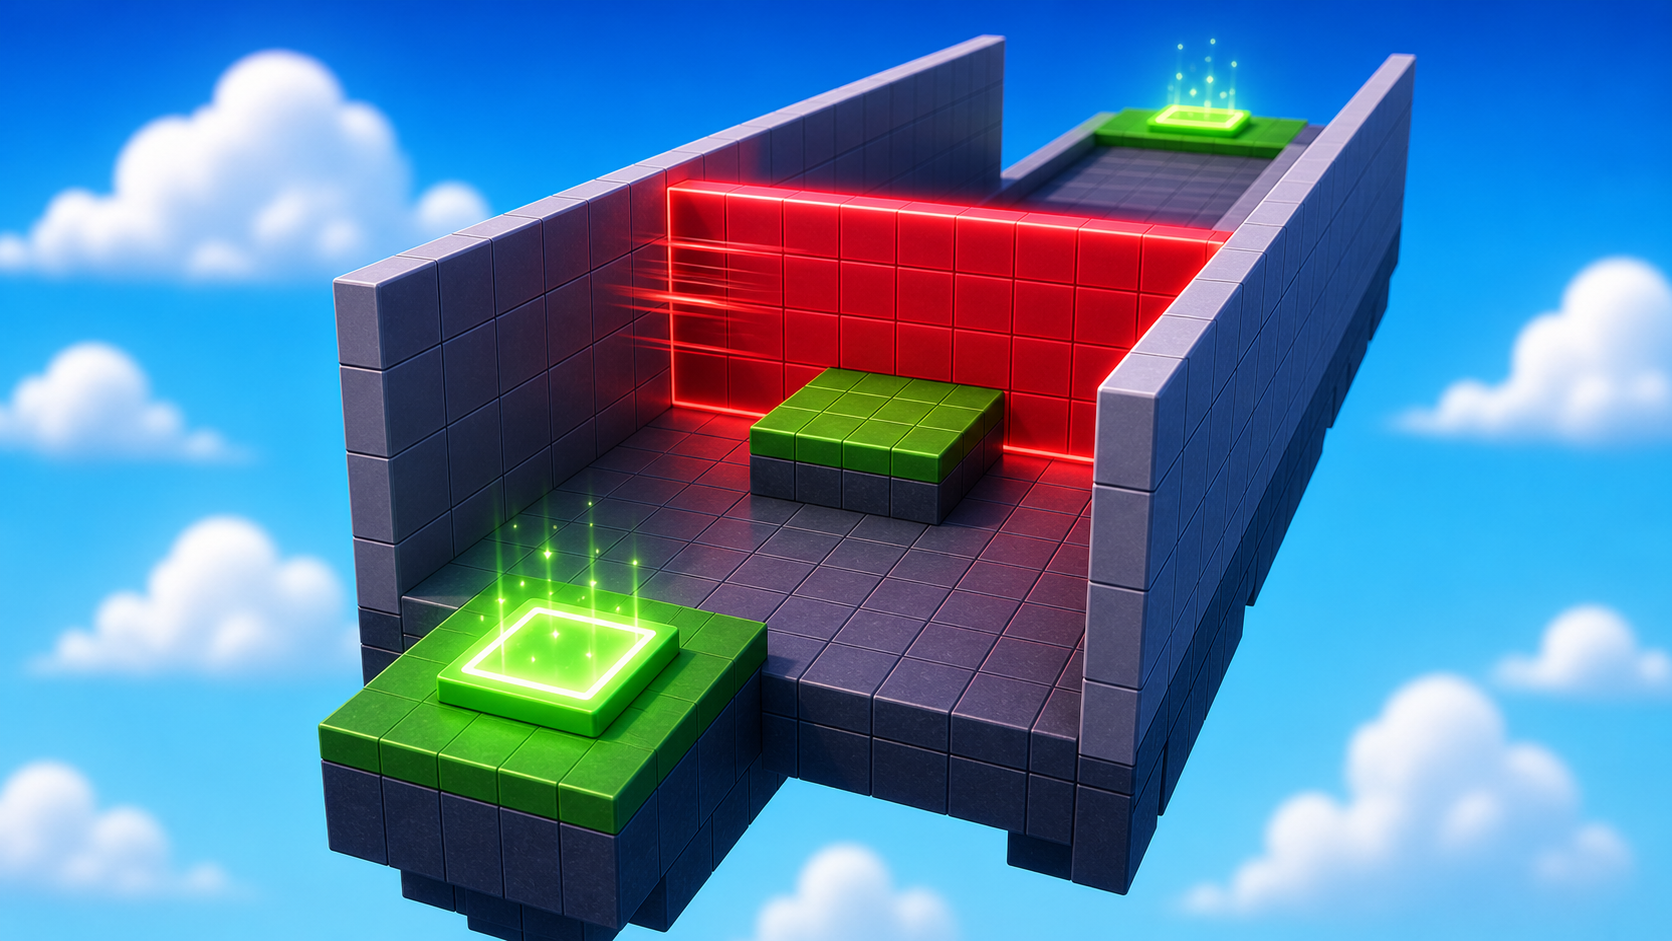
a hallway blocked by a moving wall
how motion can turn a whole room into a timing puzzle
the obby's last hazard, set up for the finale

Preview the kinetic hallway where a moving wall turns a room into a timing puzzle.
Build this stage belowThe big idea
Stage 5's spinner danced in one spot. Today the danger slides across a whole hallway — a wall that comes from one side and exits the other. The player times when to enter, between passes. The lesson is the entire room becomes the hazard: there's no safe corner to hide in, only a when.
This is the last hazard before the finale, and it's the most dramatic of all — a wall bearing down on a player makes for one of the tensest clips you can record. Build it to look big and scary.
Build it
Step 1 — Build the hallway
A floor, two side walls, and open doorways at the ends. The walls keep the player in the hallway — without them, the player would just walk around the danger.
Build this partHallFloor
BlockOpen recipe
HallFloor
Block- Size
- 6 × 1 × 30
- Color
- Dark stone grey
- Material
- Concrete
- Anchored
- ✓ Yes
- Place
- Right in front of the Stage 9 checkpoint, stretching forward 30 studs
The Z size (30) matters — the script reads it to figure out how far the wall should slide.
Build this partHallWall_Left
BlockOpen recipe
HallWall_Left
Block- Size
- 1 × 8 × 30
- Color
- Brick yellow
- Material
- Brick
- Anchored
- ✓ Yes
- Place
- Along the left edge of HallFloor. Tall enough that a player can't jump over.
Build this partHallWall_Right
BlockOpen recipe
HallWall_Right
Block- Size
- 1 × 8 × 30
- Color
- Brick yellow
- Material
- Brick
- Anchored
- ✓ Yes
- Place
- Along the right edge of HallFloor, mirroring HallWall_Left
The two short ends are open — no part there. Those are the doorways players enter and exit through.
Step 2 — Build the sliding wall
A solid wall that fits inside the hallway. The script slides it end-to-end.
Build this partSlidingWall
BlockOpen recipe
SlidingWall
Block- Size
- 5.5 × 7 × 1
- Color
- Really red
- Material
- Neon
- Anchored
- ✓ Yes
- Place
- Inside the hallway at the FAR end (away from the Stage 9 checkpoint), snug between the side walls
X (5.5) just barely fits between the side walls. Y (7) is tall but doesn't reach a ceiling. Z (1) is thickness. The script slides it toward the checkpoint, then back.
Step 3 — Add the script that slides the wall
Right-click SlidingWall → Insert Object → Script. Delete the placeholder.
SlidingWall
The Script goes inside SlidingWall. It finds the floor by name — make sure your floor is named exactly `HallFloor`.
local wall = script.Parent
local floor = workspace:WaitForChild("HallFloor")

-- Tune speed to change difficulty. Lower = slower = more time to dash.
local speed = 0.3

local hallLength = floor.Size.Z
local startZ = wall.Position.Z
local endZ = startZ - hallLength + wall.Size.Z

wall.Touched:Connect(function(otherPart)
  local character = otherPart.Parent
  local humanoid = character:FindFirstChildOfClass("Humanoid")
  if humanoid then
    humanoid.Health = 0
  end
end)

while true do
  -- Slide from startZ down to endZ
  for z = startZ, endZ, -speed do
    wall.Position = Vector3.new(wall.Position.X, wall.Position.Y, z)
    wait(0.02)
  end

  -- Slide back from endZ up to startZ
  for z = endZ, startZ, speed do
    wall.Position = Vector3.new(wall.Position.X, wall.Position.Y, z)
    wait(0.02)
  end
end
Press ▶ Play. The wall slides smoothly end-to-end, forever. Touch it and you respawn.
speed = 0.3 is the default. Try 0.2 for a slower wall, 0.5 for a sprint. The script reads the hall length and wall thickness automatically, so if you resize the hallway later, you don't need to touch the script.
Step 4 — Creator Studio: spot your "best fail" moment
You can't record yet (that's Stage 8), but the moving wall is the perfect time to start thinking about which moments you'll want to capture.
Play your hallway a few times. Notice the moments worth filming:
- The wall closing in just as you slip past — the near-miss.
- Getting squished at the last second — the funny fail.
- A clean, calm run timed perfectly — the flex.
Jot down which stages have your best moments. When you publish and record in Stage 8, you'll know exactly where the good clips live. Great creators don't film everything — they know which moments matter before they hit record.
Stage 6 clip target: In Stage 8, capture the KillWall chase from the hallway entrance. Start the clip before the wall moves so the viewer can feel the timing.
Step 5 — Add the next checkpoint
The Stage 10 checkpoint goes just past the hallway. This is the tenth checkpoint — the last regular one before the finale.
5.1 Add another SpawnLocation
Right-click Workspace → Insert Object → SpawnLocation.
5.2 Set its properties
- BrickColor → a new color. AllowTeamChangeOnTouch → checked. Neutral → unchecked. TeamColor → matches.
5.3 Tag it with its stage number
In Attributes, add a StageNumber attribute (number type) and set its value to 10.
5.4 Add a Team
Insert a Team named Stage 10, uncheck AutoAssignable, match its TeamColor, and drag the SpawnLocation just past the hallway's exit.
Understand it
The script does something quietly clever: it reads HallFloor.Size.Z to figure out how far to slide. Make a longer hallway tomorrow and the script adapts — no edits needed. That trick (read a number from the world instead of writing it as a fixed value) is called parameterized geometry, and it's how real game scripts avoid breaking every time someone resizes a level.
The side walls are doing more than decoration — they prevent the player from cheating the hazard. Without walls, the player walks around. With walls, the player has to commit to the hallway. Any time a level has a moving threat, look for the walls boxing in the lane.
And the whole room being dangerous is what makes this the obby's tensest moment. There's nowhere to hide, only a moment to choose. That kind of all-or-nothing beat is exactly what viewers hold their breath for.
Try this
Try this
Three short experiments. Predict before you run, then test your guess.
Change speed = 0.3 to speed = 1.0. Predict what happens. Is there still a safe gap, or did you make it impossible?
Delete one side wall and play through. Compare to having both. Without the wall, what does the player actually do — and why does forcing engagement matter?
This is your scariest obstacle. Do you want it near the start of your video (a strong hook) or saved for the climax (a big finish)? Creators plan the order of their best moments.
Test your stage
Before moving on:
- Press ▶ Play and start from the Stage 9 checkpoint.
- Let the wall touch you once and confirm it sends you back.
- Time a clean run through the hallway.
- Touch the Stage 10 checkpoint, reset, and confirm you respawn there.
- Design check. Does the wall give a clear opening to run through, or is the timing so tight it feels random?
If it breaks
- The wall doesn't move. The Script must be inside SlidingWall. Check Output for a red error.
- Output shows
attempt to index nil with 'Size'. The script couldn't find the floor. It must be named exactlyHallFloor(capital H, capital F, no spaces). - The wall teleports instead of sliding. The
wait(0.02)inside the loops is missing — without it, every step runs on one frame. - The wall starts in the wrong place. Drag SlidingWall back to the FAR end of the hallway.
- Players jump over the wall. Increase its Y size so it's taller than a Roblox jump (about 7 studs).
- The Stage 10 checkpoint is the wrong color. Match BrickColor, TeamColor, and the Team's TeamColor.