Stage 3: KillBrick Path
Make sure you've finished Stage 2: Sphere Staircase & Plank Walkway.
a path around dangerous KillBricks, with sound
how hazards guide the player and how sound adds life
a danger zone that looks and sounds like your game

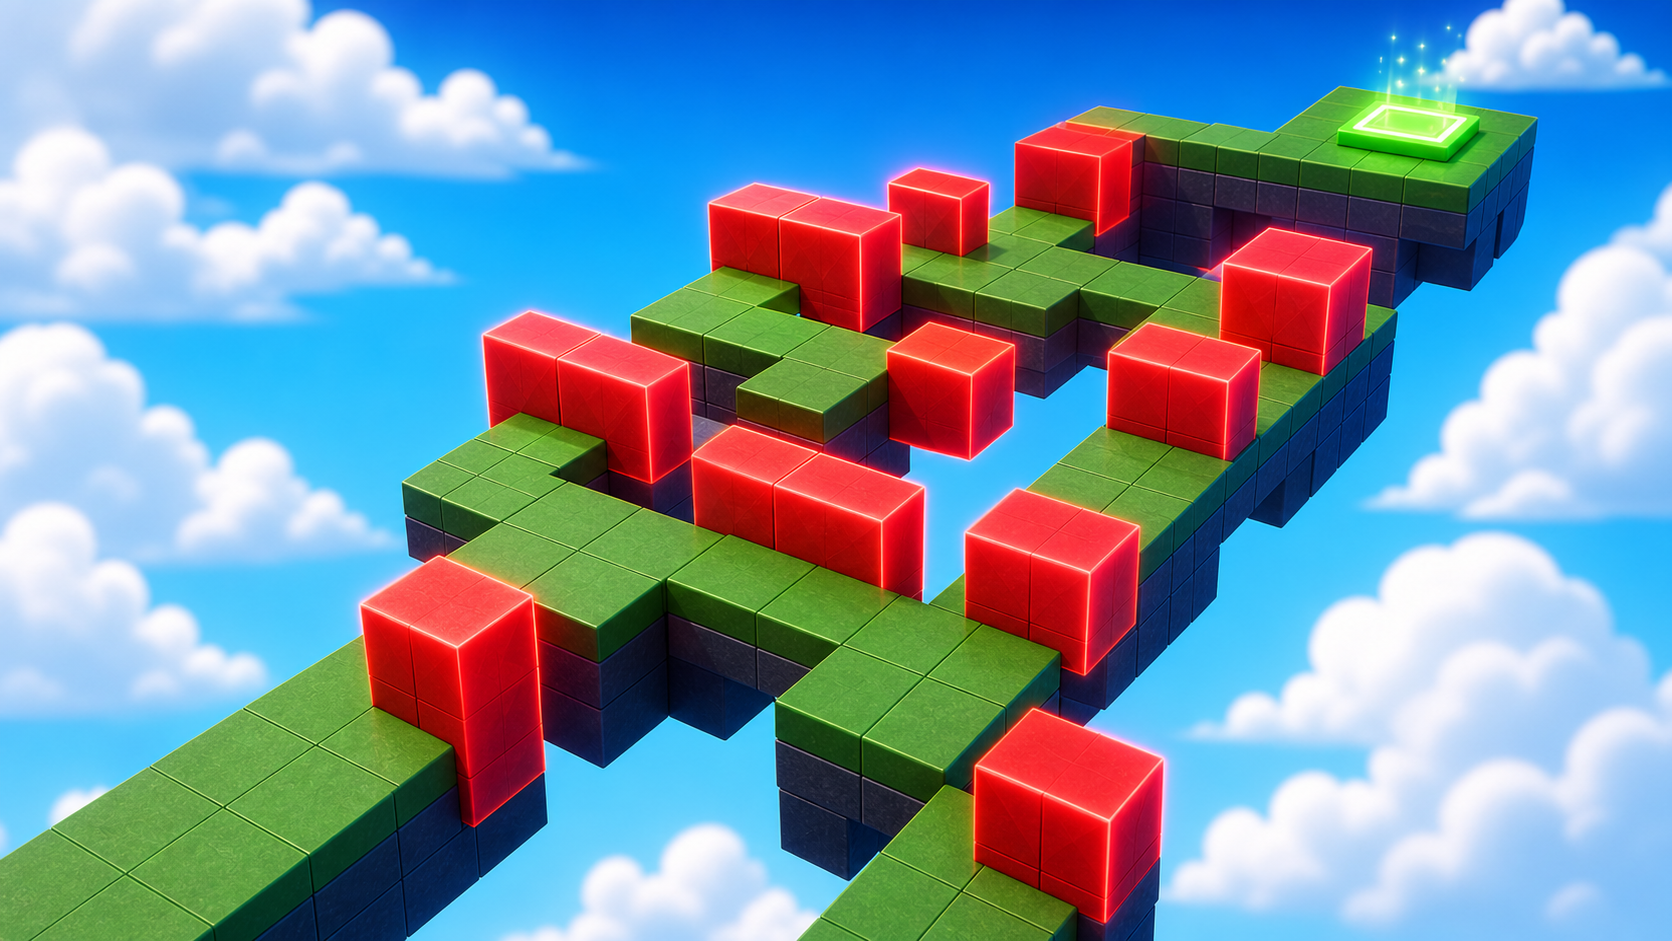
Preview the KillBrick path where danger blocks shape the route — now with sound.
Build this stage belowThe big idea
So far the player could only lose by falling. Today's stage adds a new way to lose: touching the wrong part. A KillBrick is a brick that defeats the player on contact — they respawn at the last checkpoint and try again. Hazards turn a path into a puzzle: a wide floor with KillBricks on it asks the player to read the layout before they move.
This is also your first sound moment. A silent game feels empty; a game with a low danger hum, a zap, or background music feels alive. Sound is one of the biggest differences between a game that looks homemade and one that looks like a real YouTuber made it — and you can add it with zero code.
Build it
Step 1 — Build the path
A wide flat path with a few KillBricks scattered on it. The hazards do all the work.
1.1 Build a straight path
Build this partHazardPath
BlockOpen recipe
HazardPath
Block- Size
- 10 × 1 × 30
- Color
- Dark stone grey
- Material
- Concrete
- Anchored
- ✓ Yes
- Place
- Right in front of the Stage 4 checkpoint, stretching forward 30 studs
10 studs wide on purpose — we want safe space *between* the hazards so the player has somewhere to walk.
1.2 Build a KillBrick
Build this partKillBrick_1
BlockOpen recipe
KillBrick_1
Block- Size
- 4 × 4 × 4
- Color
- Really red
- Material
- Neon
- Anchored
- ✓ Yes
- Place
- On the path, in the middle of one of the lanes
Red + Neon = the brick *looks* dangerous before the script makes it dangerous. That reads instantly on camera, too.
1.3 Add the script that kills on touch
A KillBrick is just a normal red brick until a script tells it to defeat the player. Right-click KillBrick_1 in Explorer → Insert Object → Script. Delete the placeholder code inside.
KillBrick_1
The Script lives inside KillBrick_1. If you don't see the Script indented under the brick in Explorer, drag it inside.
local brick = script.Parent

brick.Touched:Connect(function(otherPart)
  local character = otherPart.Parent
  local humanoid = character:FindFirstChildOfClass("Humanoid")

  if humanoid then
    humanoid.Health = 0
  end
end)
Press ▶ Play. Touch KillBrick_1 — you respawn at the Stage 4 checkpoint.
1.4 Make two more KillBricks
You added the script once. Now make two more bricks that do the same thing.
- Click KillBrick_1 in Explorer, press Ctrl+D twice. You now have KillBrick_2 and KillBrick_3.
- The duplicates don't have the Script inside yet. Drag the Script from KillBrick_1 onto KillBrick_2 in Explorer — Roblox copies it. Do the same for KillBrick_3.
- Drag each new brick to a different spot so the player has to weave between them.
Press ▶ Play. All three bricks kill on touch. The wide path makes it possible to find a safe route.
Step 2 — Creator Studio: add a danger sound
Now make the danger sound dangerous — no code needed. We'll add a looping hum to the path.
2.1 Insert a Sound
- In Explorer, right-click HazardPath → Insert Object → Sound.
- Click the new Sound. A Sound that lives inside a part plays from that part — it's loudest near the hazard and fades as you walk away.
2.2 Pick a sound from the Toolbox
- Open the Toolbox (View → Toolbox) and switch the dropdown to Audio.
- Search for something like hum, electric, or danger. Click one to hear it.
- When you find one you like, copy its SoundId: click the sound in the Toolbox, and Roblox fills in the asset id. (Or paste an id you already have into the Sound's SoundId box in Properties.)
2.3 Make it loop
With the Sound selected, in Properties:
- Check Looped — so it plays over and over.
- Check Playing — so it starts automatically.
- Lower the Volume to about
0.5so it sets a mood without being annoying.
Press ▶ Play and walk toward the KillBricks. Hear it get louder? That's spatial sound — and it's the kind of detail that makes a clip feel professional.
Sound is half of how a video feels. A scary section with a low hum, a finish line with a cheerful jingle — those tiny touches are what make viewers say "this looks like a real game." You'll add more sounds as the obby grows.
Stage 3 clip target: In Stage 8, capture one clip with game sound on. A viewer should hear the danger before the player touches it.
Step 3 — Add the next checkpoint
The Stage 5 checkpoint goes at the far end of the hazard path. This is the fifth checkpoint — same pattern as always.
3.1 Add another SpawnLocation
In Explorer, right-click Workspace → Insert Object → SpawnLocation.
3.2 Set its properties
- BrickColor → a new color.
- AllowTeamChangeOnTouch → checked.
- Neutral → unchecked.
- TeamColor → matches the BrickColor.
3.3 Tag it with its stage number
In the Attributes section, add a StageNumber attribute (number type) and set its value to 5.
3.4 Add a Team
- In Teams, insert a new Team named Stage 5.
- Uncheck AutoAssignable.
- Set TeamColor to match.
Drag the SpawnLocation onto the end of your path.
Understand it
A KillBrick is just a normal part with a tiny script attached. The script listens for a Touched event, and when a player character touches the part, it sets the player's Health to 0. That's the whole thing — you'll see this exact pattern (touched → do something) in every script-based hazard in Roblox.
The wide path is a deliberate design choice. A narrow path with KillBricks is just mean. A wide path lets the player choose a route — pick the right one and you feel smart. That choice is the difference between a puzzle and a punishment.
A Sound inside a part plays from that part's position, so it gets louder as you approach. That's why we put the hum in HazardPath instead of just leaving music playing everywhere. Where a sound comes from is information — it tells the player (and the viewer) "danger is near."
Try this
Try this
Three short experiments. Predict before you run, then test your guess.
Place a KillBrick directly in the middle of your path so the player can't avoid it. Predict what happens. Now move it slightly to one side. Why does the second version feel completely different?
Play with your danger hum on, then mute it (uncheck Playing) and play again. How much does the sound change the feeling of the stage, even though nothing about the gameplay changed?
You just made danger you can hear. When you record this stage later, will the hum help a viewer feel the tension — or will you want an even bigger sound for the moment a player gets hit?
Test your stage
Before moving on:
- Press ▶ Play and start from the Stage 4 checkpoint.
- Touch one KillBrick on purpose and confirm it sends you back.
- Complete the path without touching a KillBrick.
- Walk toward the hazard and confirm the danger hum gets louder.
- Touch the Stage 5 checkpoint, reset, and confirm you respawn there.
- Design check. Is there a safe path through that every player could find?
If it breaks
- The KillBrick doesn't kill me. The Script is probably outside the brick. In Explorer, the Script should appear indented underneath KillBrick_1. Drag it inside.
- KillBrick_2 and KillBrick_3 don't kill me, but KillBrick_1 does. You forgot to drag the Script onto the duplicates. Each brick needs its own Script inside.
- I can't hear the sound at all. Check that the Sound has a real SoundId, that Playing and Looped are both checked, and that Volume isn't
0. Some Toolbox audio also needs a moment to load — give it a few seconds in Play mode. - The sound plays everywhere at the same volume. The Sound is probably not inside a part (it's loose in Workspace or in SoundService). Drag it inside HazardPath so it becomes a positioned sound.
- My character respawns at Stage 1 instead of Stage 4. Your Stage 4 SpawnLocation isn't finished — re-check AllowTeamChangeOnTouch, Neutral, and that all the colors match.