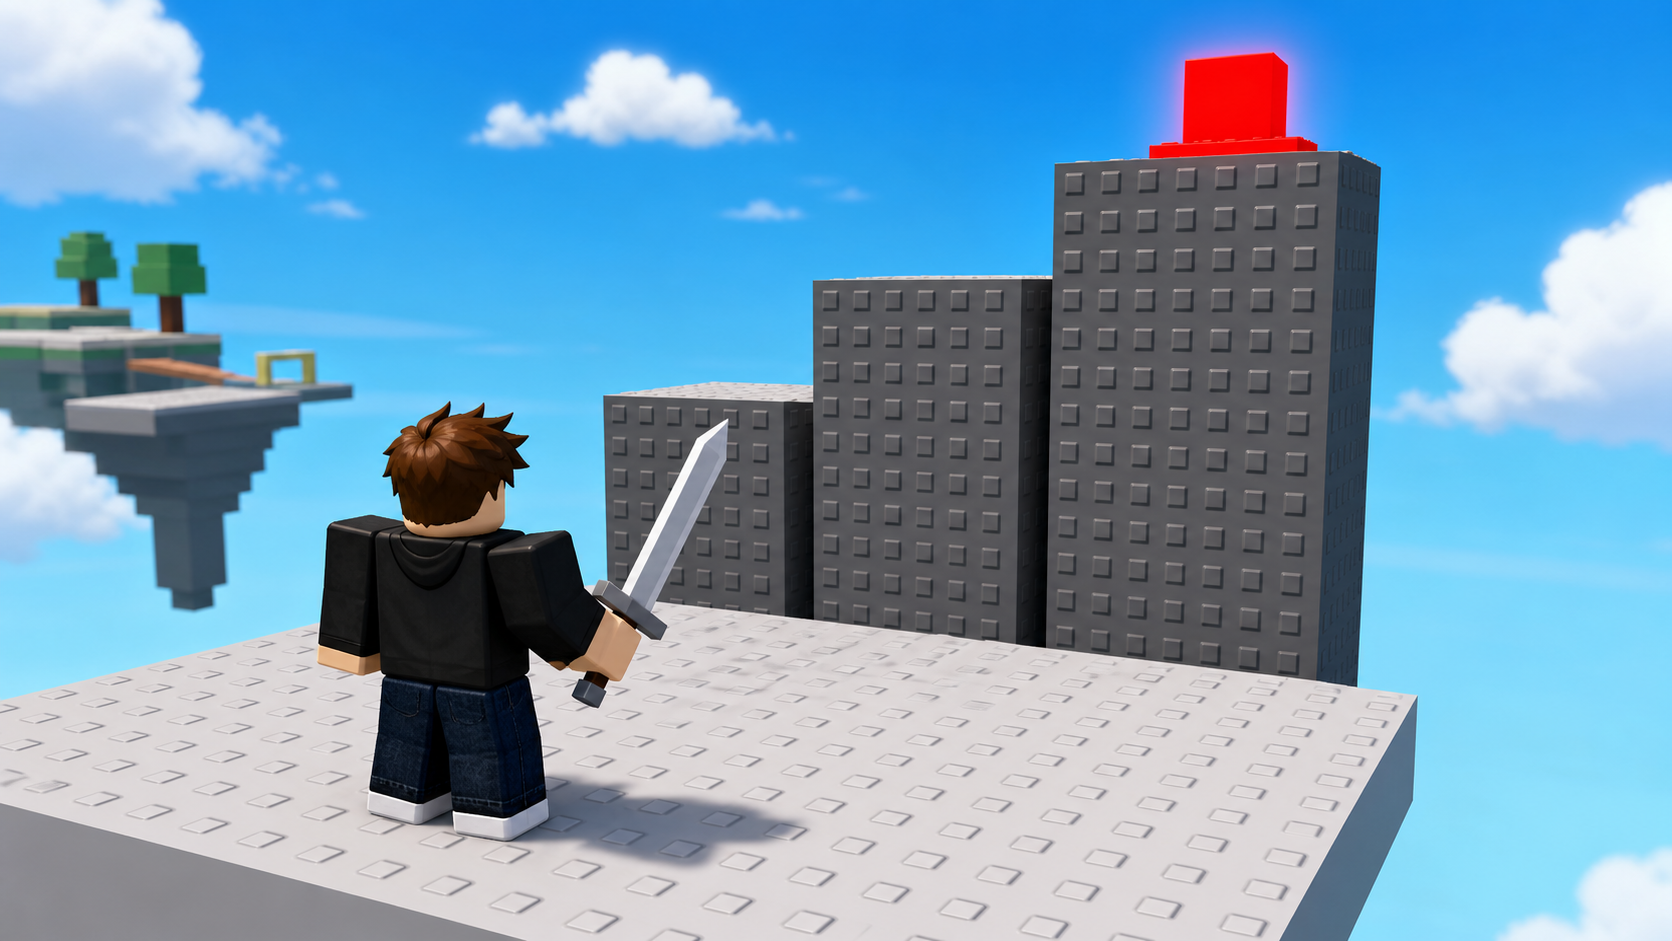
Stage 1: Ascending Walls + your first sword
Finish the Setup page. Your file should have a Start Platform, a SpawnLocation centered on it, and both ServerScriptService and StarterPack open in Explorer.
a three-block climbing wall, the Stage 2 checkpoint, a sword Tool every player spawns holding, and the leaderstats that show a Level and XP
how a Tool in StarterPack arms every player on spawn, and how leaderstats puts your RPG numbers in the top-right of the screen
a playable first obstacle where you spawn holding a sword and your name shows Level 1 and XP 0
Before campers start, run this demo (90 seconds):
- Open a finished Stage 1 file in Studio. Press Play.
- Notice you spawn holding a sword — the Backpack slot at the bottom is filled. Click to swing it (it doesn't hurt anything yet).
- Look at the top-right of the Roblox UI: it shows
Level 1andXP 0next to your name. - Climb the wall to the second checkpoint and reset — you respawn on the new pad.
- Explain: "Every anime fighting game starts you with a weapon and a level. By the end of Stage 1 you'll have both."
The big idea
Every obby in this course is the same shape you've seen before — a climbing wall, a checkpoint, a chain of obstacles. What's new is that this is a fighting game. So Stage 1 lands two combat foundations on the very first obstacle: a weapon in your hand, and the RPG numbers that will grow as you fight.
A weapon you can hold is called a Tool. A Tool lives in your Backpack — the row of slots at the bottom of the screen. If you put a Tool inside StarterPack, Roblox copies it into every player's Backpack the moment they spawn. That's how a whole server full of players can all start armed without you wiring anything per-player.
The numbers — your Level and your XP — live in a special folder called leaderstats. Roblox watches every player for a folder with exactly that name and shows whatever's inside it in the top-right. You don't build a UI; you just fill the folder. Today the numbers just sit there at Level 1 and XP 0. Stage 2 makes them climb.
- Tool
- an item a player holds and uses, like a sword; it appears in the Backpack and in the player's hand when equipped
- Handle
- the part inside a Tool that the player actually grips; a Tool needs a part named exactly Handle
- StarterPack
- a service that copies whatever is inside it into every player's Backpack when they spawn
- leaderstats
- a magic Folder name Roblox watches — anything you put inside it appears in the top-right player list
- IntValue
- a Roblox object that holds one whole number, like 0 or 1 or 100
- PlayerAdded event
- fires once for every player who joins the game; the right place to set up their leaderstats
Build it
Step 1 — Build the climbing wall
Same three-block staircase as the base obby. You've seen this shape before; the recipes go fast.
In Workspace, insert three Parts. Tune each one.
Build this partClimbBlock_Short
BlockOpen recipe
ClimbBlock_Short
Block- Size
- 4 × 5 × 2
- Color
- Medium stone grey
- Material
- Slate
- Anchored
- ✓ Yes
- Place
- In front of the Start Platform, sitting on the ground
Build this partClimbBlock_Mid
BlockOpen recipe
ClimbBlock_Mid
Block- Size
- 4 × 7 × 2
- Color
- Medium stone grey
- Material
- Slate
- Anchored
- ✓ Yes
- Place
- Right next to ClimbBlock_Short, taller
Build this partClimbBlock_Tall
BlockOpen recipe
ClimbBlock_Tall
Block- Size
- 4 × 10 × 2
- Color
- Medium stone grey
- Material
- Slate
- Anchored
- ✓ Yes
- Place
- Right next to ClimbBlock_Mid, tallest
Press ▶ Play and confirm you can climb all three. If not, move the blocks closer together.
Step 2 — Wire the Stage 1 and Stage 2 checkpoints
First, lock the starting SpawnLocation to Stage 1 so it matches the rest of the obby family.
- Select the original SpawnLocation on the Start Platform.
- In Properties, check AllowTeamChangeOnTouch.
- Uncheck Neutral.
- Add a
StageNumberattribute (numbertype) with value 1. - In Teams, insert a Team named Stage 1. Match its TeamColor to the starting SpawnLocation and leave AutoAssignable checked.
Now add the Stage 2 SpawnLocation on top of the tallest block. Same pattern as the base obby — but the StageNumber attribute is what the XP script will look for in Stage 2, so don't skip it.
Build this partSpawnLocation (Stage 2 — top of the climb)
BlockOpen recipe
SpawnLocation (Stage 2 — top of the climb)
Block- Size
- 6 × 1 × 6
- Color
- Bright red
- Material
- Plastic
- Anchored
- ✓ Yes
- Place
- On top of ClimbBlock_Tall
Also: check AllowTeamChangeOnTouch. Uncheck Neutral. Set TeamColor to Bright red.
2.1 Tag it with its stage number
In the Attributes section of Properties, add a StageNumber attribute (number type) with value 2. Stage 2 of the course finds this exact pad by that attribute — not its name, not its color.
If you forgot how: Properties → scroll to Attributes → click + → name StageNumber, type number, value 2.
2.2 Create the matching Team
- In Explorer, find the Teams folder. If it doesn't exist, right-click Explorer → Insert Service → Teams.
- Right-click Teams → Insert Object → Team. Rename it Stage 2.
- Set TeamColor to Bright red. Uncheck AutoAssignable.
Press Play. Climb the wall, touch the red pad, reset your character. You should respawn on red.
Step 3 — Build the sword every player spawns with
This is the combat twist. You'll build a Tool named Sword and park it in StarterPack so every player spawns holding it.
3.1 Make the Tool
- In Explorer, right-click StarterPack → Insert Object → Tool.
- Rename the Tool Sword.
A brand-new Tool is empty — it has no part to hold yet. That's the next step.
3.2 Give it a Handle
A Tool needs a part named exactly Handle. Roblox uses that part as the thing the player grips.
- Right-click the Sword Tool → Insert Object → Part.
- Rename the new part Handle (exact spelling, capital H).
- Select Handle and set in Properties:
Build this partHandle
BlockOpen recipe
Handle
Block- Size
- 1 × 1 × 5
- Color
- Light stone grey
- Material
- Metal
- Anchored
- ✗ No
- Place
- Inside the Sword Tool — Roblox positions it in your hand automatically
Leave Anchored UNCHECKED. A held Tool must move with your hand; an anchored Handle would freeze the player's arm.
Press ▶ Play. You spawn holding the sword, and its slot is filled in the Backpack. Click the mouse to swing — nothing happens to the world yet. That's expected: Stage 3 teaches the sword to deal damage. For now, you're armed.
Step 4 — Start your RPG with leaderstats
In Explorer, right-click ServerScriptService → Insert Object → Script. Rename it CombatStats. Double-click to open it and delete the placeholder line.
You'll build this in two passes. Press Play and read Output after each one.
Pass 1 — Give every joining player a Level
local Players = game:GetService("Players")

Players.PlayerAdded:Connect(function(player)
  local stats = Instance.new("Folder")
  stats.Name = "leaderstats"
  stats.Parent = player

  local level = Instance.new("IntValue")
  level.Name = "Level"
  level.Value = 1
  level.Parent = stats

  print(player.Name, "joined at Level", level.Value)
end)
Press Play. The top-right should show Level 1 next to your name, and Output prints "Player1 joined at Level 1".
If you don't see Level in the top-right, the folder name is wrong — it must be exactly leaderstats (lowercase L, no space). Stop.
Pass 2 — Add XP next to the Level
Inside the same PlayerAdded function, below the level block and above the print, add an XP value:
  local xp = Instance.new("IntValue")
  xp.Name = "XP"
  xp.Value = 0
  xp.Parent = stats
Press Play. Now the top-right shows both Level 1 and XP 0. Both numbers sit still for now — Stage 2 is what makes XP climb and the Level rise with it.
Understand it
The leaderstats folder is a Roblox convention, not a feature you import. Roblox watches every Player for a child Folder named exactly leaderstats. Whatever values sit inside show up in the top-right. Misspell the name and nothing appears — no error, just silence.
The PlayerAdded event is the only safe place to build per-player state. If you built the folder when the script first ran, you'd build one folder for nobody. PlayerAdded fires once per joining player, so each one gets their own Level and XP.
The sword needed no script at all today — that's the point of StarterPack. You built the Tool once, dropped it in StarterPack, and Roblox handles copying it into every Backpack. The same idea will arm a whole server of players in a published game. The sword only becomes a weapon in Stage 3, when you put a Script inside it that turns a swing into damage.
How CombatStats arms every player with a Level and XP
The whole script is one event handler: when a player joins, build their leaderstats folder and fill it with the two RPG numbers.
local Players = game:GetService("Players")

Players.PlayerAdded:Connect(function(player)
local stats = Instance.new("Folder")
stats.Name = "leaderstats"
stats.Parent = player

local level = Instance.new("IntValue")
level.Name = "Level"
level.Value = 1
level.Parent = stats

local xp = Instance.new("IntValue")
xp.Name = "XP"
xp.Value = 0
xp.Parent = stats

print(player.Name, "joined at Level", level.Value)
end)
Line 1Grab the Players service.
Players is the Roblox service that tracks who's in the game. Every combat script in this course starts here because every fighter is tied to a specific player.
Line 3Run this for every joiner.
PlayerAdded fires once per player who joins. The function inside gets that exact player so we can build their own folder.
Lines 4–6Build the leaderstats folder.
A Folder named exactly leaderstats, parented to the player. Roblox watches for that spelling and shows whatever's inside it in the top-right.
Lines 8–16Fill it with Level and XP.
Two IntValues — whole-number holders. Level starts at 1, XP at 0. Parenting them to the leaderstats folder is what makes them appear on screen.
Try this
Try this
Three short experiments. Predict before you run, then test your guess.
Before you press Play, open the Sword Tool and rename Handle to handle (lowercase). Predict: will you still spawn holding a sword? Run it. What does that tell you about how strict Roblox is about the name Handle?
Change the Level IntValue's starting Value from 1 to 5 in the script. Press Play. Compare what the top-right shows. Why is editing the script better than editing the value by hand in Explorer?
Right now XP sits at 0 forever. In Stage 2 you'll add XP every time the player reaches a checkpoint. Where in this script — or in a brand-new script — would the "give the player XP" code naturally go?
Test your stage
- Press ▶ Play. You spawn holding a sword; its Backpack slot is filled.
- Click the mouse — the sword swings (nothing is damaged yet; that's Stage 3).
- The top-right shows
Level 1andXP 0next to your name. - Climb the wall to the red pad and reset — you respawn on red.
- The starting SpawnLocation has
StageNumber = 1, the red SpawnLocation hasStageNumber = 2, and only the Stage 1 Team is AutoAssignable. - Output prints "PlayerN joined at Level 1".
- Design check. Does spawning with a sword feel like the start of a fighting game? If the sword is hard to see in your hand, make the Handle a brighter color or a different shape — the weapon should read instantly.
If it breaks
- I don't spawn holding the sword. The part inside the Tool must be named exactly
Handle. Check the spelling and the capital H. Also confirm the Sword Tool is inside StarterPack, not Workspace. - The sword is stuck in mid-air or freezes my arm. The Handle is Anchored. Uncheck Anchored on the Handle — a held part must move with the hand.
- The top-right doesn't show Level or XP. The folder name is wrong. It must be exactly
leaderstats— lowercase L, no underscore, no space. - Output says
attempt to index nil with 'leaderstats'. Lua is case-sensitive — check forPlayerwhere you meantplayer. - Studio crashes when I press Play. Open Output (View → Output) and read the red error. The most common Stage 1 cause is a missing
end)on thePlayerAddedfunction.
The biggest pedagogical risk in Stage 1 is rushing past the two-pass script. Pass 1 (Level) and Pass 2 (XP) each teach one idea — building a value and parenting it so Roblox sees it. If a camper types both at once and it works, they learned one thing instead of two.
- The sword Tool is the headline moment — let campers spend a minute swinging it before you explain that it doesn't hurt anything yet. The anticipation is what makes Stage 3 land.
- Common confusion: putting the Sword in Workspace instead of StarterPack. In Workspace it sits on the ground; only StarterPack copies it into every Backpack on spawn.
- Total time: 50 minutes. Climbing wall 15, SpawnLocation + attribute 10, sword Tool 10, two-pass script 15.