Stage 4: KillBrick Path
Finish Stage 3: Plank Walkway first. You have a yellow Stage 4 checkpoint at the end of the planks, and you've written a while … wait loop that flips properties.
a wide path with three KillBrick hazards and the fifth checkpoint
how a `Touched` handler decides whether the toucher is a player, and how to set Humanoid.Health to 0
the KillBrick script — the exact pattern every later hazard reuses
The big idea
This is the core hazard stage.
Every later hazard is a variation of the script you write here: listen for a touch, check if the toucher is a player, then set Humanoid.Health to 0.
The design lesson is that a wide path with hazards is harder than a narrow path with hazards.
A narrow path gives only one route, so the player feels punished. A wide path asks the player to choose.
Color also matters. Red says "danger" before the player reads a word. Visible danger is fair danger.
- Humanoid
- the part of every Roblox character that handles health, walking, and jumping
- :FindFirstChildOfClass
- looks through a part's children for the first one of a given type; returns nil if none found
- Health
- a property on Humanoid; setting it to 0 triggers the death/respawn sequence
- nil
- Lua's word for 'nothing here'; you check `if x then` to know x is not nil
- callback
- a function you hand to an event so it runs whenever the event fires
Build it
Step 1 — Build the wide path
A flat wide path with enough room for the player to choose a route. Wider is harder.
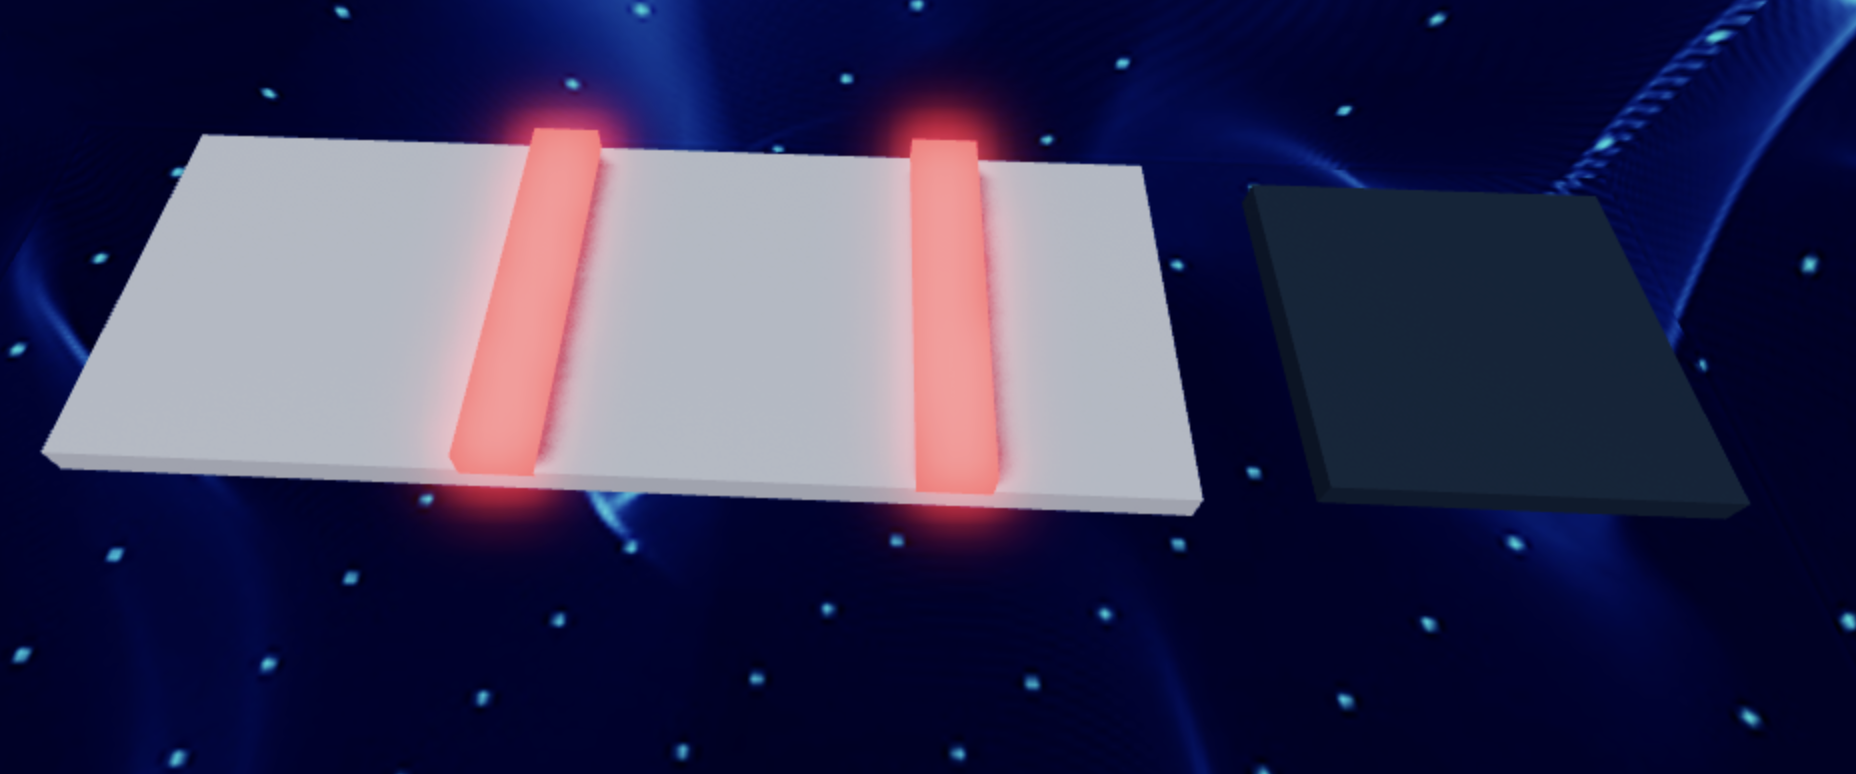
Build this partHazardPath
BlockOpen recipe
HazardPath
Block- Size
- 10 × 1 × 30
- Color
- Dark stone grey
- Material
- Concrete
- Anchored
- ✓ Yes
- Place
- Starting at the Stage 4 yellow pad, stretching forward 30 studs
10 studs wide is enough for the player to walk around 1-2 hazards. Don't make it narrower — that breaks the design.
Step 2 — Build three KillBrick hazards from scratch
Three identical cube hazards. Red, glowing, obviously dangerous. We'll script the first one and then duplicate it.
Build this partKillBrick_1
BlockOpen recipe
KillBrick_1
Block- Size
- 4 × 4 × 4
- Color
- Really red
- Material
- Neon
- Anchored
- ✓ Yes
- Place
- On the path, blocking the middle of one of the three lanes
Neon material makes the brick glow — adds to the danger signal. Anchored so it doesn't fall.
Now duplicate it for the other two hazards. Click KillBrick_1 in Explorer, press Ctrl+D twice. You get KillBrick_2 and KillBrick_3 identical to the first. Drag each to a different position on the path so the player has to weave between them.
Step 3 — Add the fifth checkpoint
Build this partSpawnLocation (Stage 5 — past the hazards)
BlockOpen recipe
SpawnLocation (Stage 5 — past the hazards)
Block- Size
- 6 × 1 × 6
- Color
- Bright violet
- Material
- Plastic
- Anchored
- ✓ Yes
- Place
- At the far end of HazardPath
Also: check AllowTeamChangeOnTouch. Uncheck Neutral. Set TeamColor to Bright violet. In Teams, insert a Team named 'Stage 5', uncheck AutoAssignable, set its TeamColor to Bright violet.
Step 4 — Write the KillBrick script
Now the central script of the course. In Explorer, right-click KillBrick_1 → Insert Object → Script. Open the editor.
Pass 1 — Listen for any touch
Delete the placeholder. Type this:
local brick = script.Parent

brick.Touched:Connect(function(otherPart)
  print("Something touched:", otherPart.Name)
end)
Press Play. Walk onto KillBrick_1.
Output prints lines like "Something touched: LeftFoot". Same as Stage 2, but now we will act on the touch.
Pass 2 — Find the Humanoid
Body parts like LeftFoot live inside the character model.
The character also contains a Humanoid. Extend the script so it finds that Humanoid.
local brick = script.Parent

brick.Touched:Connect(function(otherPart)
  local character = otherPart.Parent
  local humanoid = character:FindFirstChildOfClass("Humanoid")

  if humanoid then
    print("Found a player! Humanoid health:", humanoid.Health)
  end
end)
Press Play. Walk onto the brick.
Output shows "Found a player! Humanoid health: 100". That proves the script found your character, not just a random part.
Pass 3 — Set health to zero
Swap the print for the action:
local brick = script.Parent

brick.Touched:Connect(function(otherPart)
  local character = otherPart.Parent
  local humanoid = character:FindFirstChildOfClass("Humanoid")

  if humanoid then
    humanoid.Health = 0
  end
end)
Press Play. Walk onto KillBrick_1. You die immediately and respawn at the Stage 4 yellow checkpoint. You just built a KillBrick from scratch.
Step 5 — Copy the script to the other bricks
KillBrick_2 and KillBrick_3 are duplicates of KillBrick_1, but the Script inside KillBrick_1 wasn't duplicated with them — the Script was added after the Ctrl+D. Two options:
- Easy way: In Explorer, click and drag the Script from KillBrick_1 down onto KillBrick_2 and KillBrick_3. Roblox copies it.
- Manual way: Right-click KillBrick_2 → Insert Object → Script, then copy-paste the code from KillBrick_1. Same for KillBrick_3.
Press Play. All three bricks kill on touch. Try to weave between them — the wide path makes it possible.
Understand it
The script.Parent is KillBrick_1 itself. From there, the script listens for Touched.
The otherPart.Parent line is the trick.
When a player touches the brick, otherPart is usually a body part. The body part's parent is the character model, and the Humanoid lives there.
:FindFirstChildOfClass("Humanoid") safely asks, "is there a Humanoid here?" If not, it returns nil, and the kill logic is skipped.
Setting humanoid.Health = 0 tells Roblox the character died. Roblox handles the death animation, respawn timer, and checkpoint respawn.
How this script turns a touch into a respawn
This is the first script where the event causes a real game consequence. It uses the same Touched pattern from Stage 2, then checks whether the toucher belongs to a player character.
local brick = script.Parent

brick.Touched:Connect(function(otherPart)
  local character = otherPart.Parent
  local humanoid = character:FindFirstChildOfClass("Humanoid")

  if humanoid then
    humanoid.Health = 0
  end
end)
Line 1The script finds its own brick.
Because the Script is inside KillBrick_1, `script.Parent` gives the code a reference to KillBrick_1. That is the part whose touch event we care about.
Line 3Roblox waits for a collision.
`brick.Touched:Connect(...)` tells Roblox: whenever anything touches this brick, run the function. `otherPart` will be the exact part that touched it, such as LeftFoot, HumanoidRootPart, or a loose prop.
Line 4Move from body part to character.
When a player touches the brick, `otherPart` is usually one body part. That part's Parent is the whole character model. The Humanoid is stored in that model, not inside the foot.
Line 5Ask: is this actually a player character?
`FindFirstChildOfClass("Humanoid")` returns a Humanoid if the character has one. If a normal Part touches the brick, there is no Humanoid, so this variable becomes nil instead of crashing the script.
Lines 7–9Only players get the death action.
`if humanoid then` means 'only run this if we found a Humanoid.' Setting `Health = 0` lets Roblox handle the death animation and respawn at the checkpoint team the player already earned.
Try this
Try this
Three short experiments. Predict before you run, then test your guess.
Remove the if humanoid then check entirely (delete lines 7 and 9, dedent line 8). Press Play. Walk onto the brick — it still works. Now drop a non-anchored Part onto the brick (insert a Part, uncheck Anchored, position it above). What happens? Predict before you test.
Change one KillBrick's BrickColor from Really red to Medium stone grey. Same Material, same shape, same script — only the color changed. Play through. Which brick do you instinctively avoid? Why?
The script's three core moves — listen for Touched, find the Humanoid, change a property — will appear in Stage 5 (Fireball), Stage 6 (Hidden Hazard), Stage 9 (KillWall), and Stage 10 (Puzzle button). What might change between them, and what will stay the same?
Test your stage
- Walk onto KillBrick_1, KillBrick_2, KillBrick_3 individually. Each kills and respawns you on the yellow pad.
- Find a safe route between the bricks and walk it without touching any. Touch the violet pad.
- Reset character. You respawn on violet.
- Open the Output window during Play. There are no red error messages.
- Design check. Stand at the yellow pad. Can a brand-new player see a safe route through the hazards in under three seconds? If not, move one brick to widen the safe corridor.
If it breaks
- The brick doesn't kill me. The Script is probably outside the brick. In Explorer, the Script should appear indented underneath KillBrick_1, not as a sibling at the Workspace level. Drag it inside the brick.
- The Output shows
attempt to index nil with 'FindFirstChildOfClass'. TheotherPart.Parentwas nil — meaning otherPart had no parent. Rare, but happens when parts are mid-deletion. Wrap the parent lookup:local character = otherPart.Parent; if not character then return end. - The Output shows
attempt to perform arithmetic on a nil valueor similar errors. You probably misspelledHumanoid(case matters — it's nothumanoidwith a lowercase h in the FindFirstChildOfClass argument). Re-type the"Humanoid"string carefully. - I die but I respawn at the wrong checkpoint. Your team setup from Stages 1–3 has a color mismatch. Open each Stage's Team in Explorer and verify TeamColor matches its SpawnLocation's BrickColor exactly.
- The brick kills me even when I jump over it. The brick's hitbox is its size; if the brick is 4 studs tall, jumping requires clearing 4 studs of brick AND not landing on top. Reduce the brick height to 2 or 3 if you want jumping to be a valid strategy.
The Touched-handler script is the conceptual centerpiece of this course. Spend the full 45 minutes if a camper has any confusion — every later stage assumes this script is internalized. Specifically:
- Walk every camper through Pass 1 (just
print) and Pass 2 (find Humanoid +if humanoid then) before they try Pass 3. The temptation is to skip to Pass 3 and copy-paste. Don't let them. - Common confusion: campers think
otherPartandcharacterare the same thing. They aren't. Body parts are children of the character. Have campers addprint("otherPart:", otherPart.Name)andprint("character:", character.Name)to see the names side-by-side. - The
if humanoid thencheck is the line campers skip the most. Symptom: their script "works" but throws red errors in Output every time a non-player part touches the brick. Teach them to check Output every Play. - Total time 45 min: 10 building, 20 writing+understanding the script, 15 testing variations.