Stage 1: Ascending Walls
Make sure you've finished the Setup page. Your file should be saved and the green Baseplate floor should be gone.
a three-block climbing wall and a two-checkpoint chain
how SpawnLocation, Team, and TeamColor work together to mark progress
a playable first obstacle that respawns the player at the top
The big idea
Every obby is a chain of checkpoints.
A checkpoint is a save spot. If the player falls, they respawn at the last checkpoint they touched.
In Roblox, a checkpoint uses two pieces: a visible SpawnLocation pad and an invisible Team. The pad and the team connect by matching color. That color match is the trick.
Today you build the first checkpoint pair and a simple climbing wall. No script yet. Roblox already handles jumping and standing.
Stage 1 is about building parts carefully, naming them clearly, and learning the checkpoint pattern you will reuse every stage.
- SpawnLocation
- a pad that respawns the player to its position when they belong to its team
- Team
- an invisible group of players, defined in the Teams folder
- TeamColor
- the color that links a SpawnLocation to a Team (they must match exactly)
- Anchored
- a property that freezes a part in place; unanchored parts fall under gravity
- Properties panel
- the panel where you set Size, Color, Material, Anchored, and every other part attribute
Build it
Step 1 — Wire the first checkpoint
The SpawnLocation already exists. It is the green pad at the origin.
Right now, it belongs to no real stage. We will connect it to a Stage 1 team so it becomes the start of the obby.
1.1 Tune the SpawnLocation properties
Click the SpawnLocation in Explorer, open the Properties panel, and set:
Build this partSpawnLocation (Stage 1 — the start pad)
BlockOpen recipe
SpawnLocation (Stage 1 — the start pad)
Block- Size
- 6 × 1 × 6
- Color
- Bright blue
- Material
- Plastic
- Anchored
- ✓ Yes
Also: check AllowTeamChangeOnTouch. Uncheck Neutral. Set TeamColor to Bright blue (must match BrickColor exactly).
1.2 Create the matching Team
A SpawnLocation without a matching Team does nothing — the player has no team to join when they touch it.
- In Explorer, find the Teams folder. If you don't see it, right-click in the empty Explorer area → Insert Service → Teams.
- Right-click Teams → Insert Object → Team.
- Rename the Team to Stage 1.
- Set its TeamColor to Bright blue (the exact same color as the SpawnLocation).
That color match is what tells Roblox "a player on Stage 1 respawns at this pad."
Step 2 — Build the climbing wall
Three blocks of growing height form a staircase the player has to jump up. You will build them from scratch — no Toolbox, no templates.
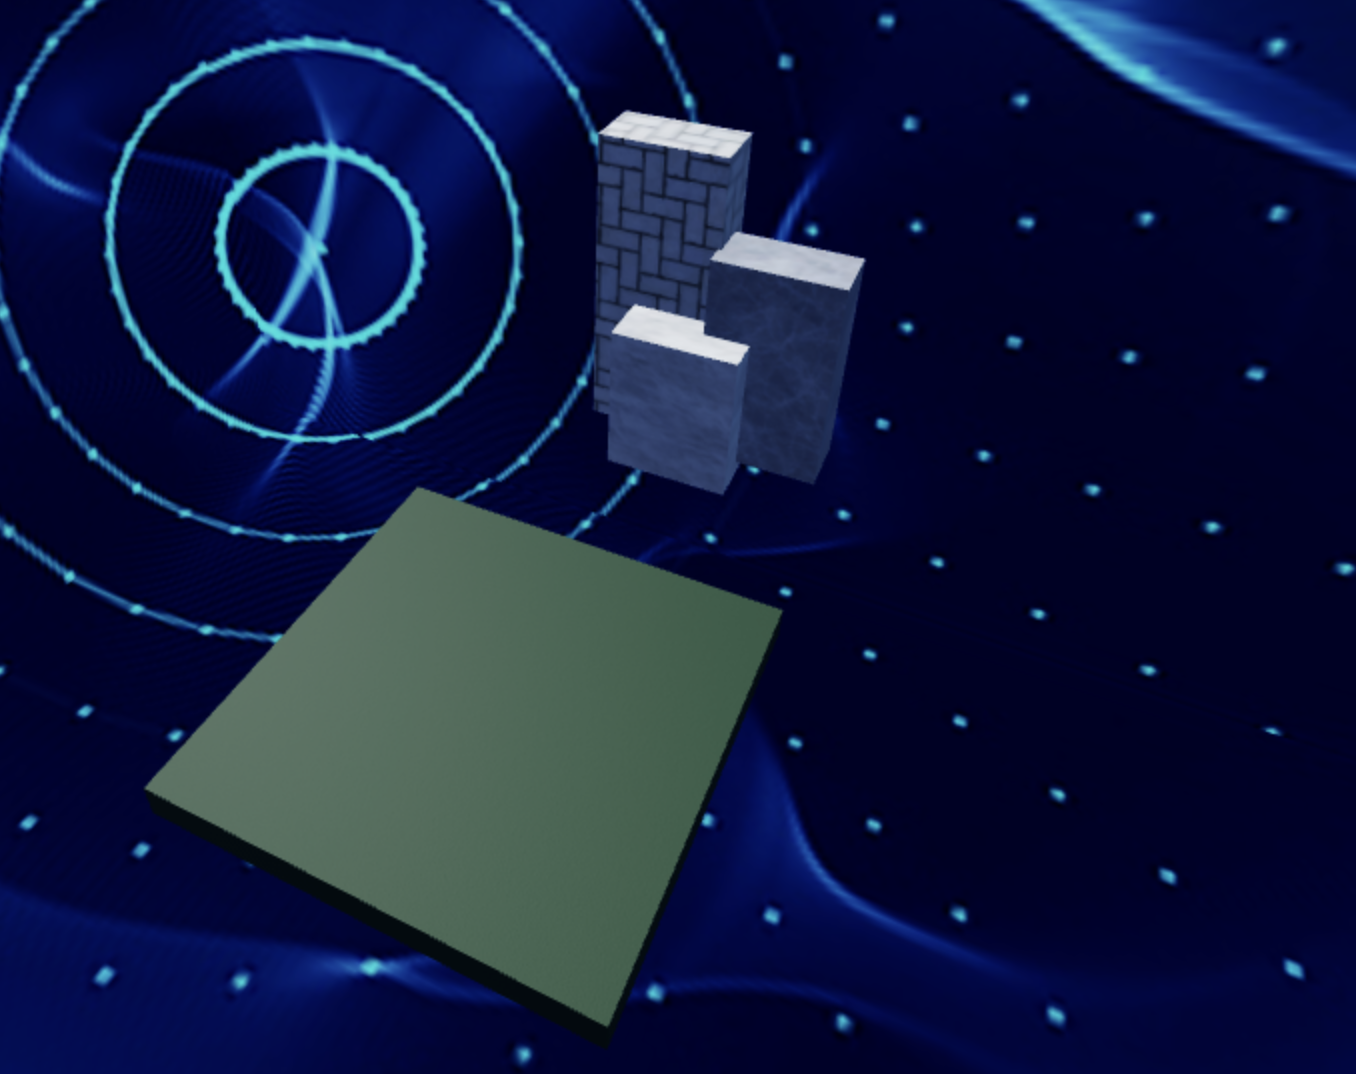
In Workspace, click + → Part three times. Three identical blocks will appear stacked at the origin. Click each one and tune it to match the recipes below.
Build this partClimbBlock_Short
BlockOpen recipe
ClimbBlock_Short
Block- Size
- 4 × 5 × 2
- Color
- Medium stone grey
- Material
- Slate
- Anchored
- ✓ Yes
- Place
- In front of the SpawnLocation, sitting on the ground (Y position 2.5)
Pick any color you like — the recipes show one option. The middle Size number (5) is the block's height in studs.
Build this partClimbBlock_Mid
BlockOpen recipe
ClimbBlock_Mid
Block- Size
- 4 × 7 × 2
- Color
- Medium stone grey
- Material
- Slate
- Anchored
- ✓ Yes
- Place
- Right next to ClimbBlock_Short, taller (Y position 3.5)
Build this partClimbBlock_Tall
BlockOpen recipe
ClimbBlock_Tall
Block- Size
- 4 × 10 × 2
- Color
- Medium stone grey
- Material
- Slate
- Anchored
- ✓ Yes
- Place
- Right next to ClimbBlock_Mid, tallest (Y position 5)
Press ▶ Play. Walk to the short block and jump.
You should be able to climb all three blocks. If the tallest one is impossible, move the blocks closer together.
Notice: you wrote zero code and the climb works. Roblox already knows how characters jump and stand on parts.
Stage 1's lesson is that shape, size, and position can already make a game.
Step 3 — Place the second checkpoint
The Stage 2 checkpoint goes at the top of the tallest block. Reaching it has to feel like the reward for climbing.
3.1 Build the new SpawnLocation
In Explorer, right-click Workspace → Insert Object → SpawnLocation. Tune it:
Build this partSpawnLocation (Stage 2 — top of the climb)
BlockOpen recipe
SpawnLocation (Stage 2 — top of the climb)
Block- Size
- 6 × 1 × 6
- Color
- Bright red
- Material
- Plastic
- Anchored
- ✓ Yes
- Place
- Sitting on top of ClimbBlock_Tall
Also: check AllowTeamChangeOnTouch. Uncheck Neutral. Set TeamColor to Bright red.
3.2 Create the matching Team
- Right-click Teams → Insert Object → Team.
- Rename it to Stage 2.
- Set TeamColor to Bright red.
- Uncheck AutoAssignable. If you leave it checked, new players start at Stage 2 and skip the climb.
Stage 1's team is the only team with AutoAssignable on.
Press Play. Climb the wall, touch the red pad, then reset your character.
You should respawn on the red pad, not the blue one. That proves the checkpoint worked.
Understand it
A SpawnLocation + Team pair is the smallest save point Roblox gives you.
When the player touches a SpawnLocation, Roblox checks its TeamColor. If that color matches a Team, Roblox moves the player to that team and uses that pad for respawn.
There is no master checkpoint list. Roblox figures it out from colors. That is why mismatched colors are the most common bug.
The growing block heights are a design choice called legible difficulty.
One tall wall feels like guessing. Three growing blocks show the route before the player jumps.
"I see what to do" is the difference between a fun challenge and frustration.
We unchecked AutoAssignable on Stage 2 because AutoAssignable means "new players start on this team."
If it stayed on, new players would spawn at the top without earning it. One checkbox can turn an obby into free skips.
Try this
Try this
Three short experiments. Predict before you run, then test your guess.
Change ClimbBlock_Tall's Anchored property to false. Don't change anything else. Predict what happens when you press Play — and why. Then run it.
Build the same three blocks but with sizes [4, 3, 2], [4, 5, 2], [4, 7, 2]. Play both versions. Which one feels right at the start of the obby — the tall one or the short one? Why does the answer depend on what comes next?
Every stage you build from here will end with a new checkpoint pad. Look at what you just wired. Which part of the pattern (BrickColor / AllowTeamChangeOnTouch / Neutral / TeamColor / Team name / AutoAssignable) is the one you're most likely to forget to set on Stage 4? Make a note now.
Test your stage
- Press ▶ Play and start on the blue pad.
- Climb all three blocks without falling.
- Touch the red pad at the top.
- Reset your character (Esc → Reset Character) and confirm you respawn on the red pad — not the blue one.
- Open the Output window during Play. It should be empty. If there are red error messages, something is wrong with the SpawnLocation properties.
- Design check. Stand back and look at the climb. Could a new player spot the route in under three seconds? If not, move the blocks closer or make the colors clearer.
If it breaks
- I respawn at the blue pad. This is usually a color mismatch. The red pad BrickColor, red pad TeamColor, and Stage 2 TeamColor must all use the same named color.
- New players start on the red pad. AutoAssignable is still checked on Stage 2. Uncheck it.
- The new SpawnLocation falls. Turn on Anchored for the pad.
- The tallest block is impossible. Move it closer to ClimbBlock_Mid, or lower its height to 8.
- The blocks look fine but my character falls through them. CanCollide is unchecked. Click the block, find CanCollide in Properties, turn it on.
The single most common Stage 1 failure for ages 10–13: copying the BrickColor exactly using the eyedropper but missing TeamColor, then assuming "they look the same so it's fine." It is not fine. Walk every laptop after Step 1.2 and read the dropdown values out loud — "your pad is Bright blue, your team is Bright blue" — confirm the name strings match, not just the swatches.
- The second-most-common failure: leaving AutoAssignable on for Stage 2. Symptom: after a reset, the player keeps spawning at the top. Fix: uncheck AutoAssignable on the Stage 2 Team.
- The third: campers who hit Play before anchoring the new SpawnLocation in Step 3. Symptom: the pad falls and the player respawns mid-air. Fix: anchor it.
- For a camp, budget the full 45 minutes. The build is fast; the property-tuning + color-matching is slow and where the learning happens. Don't rush past it.