Stage 10: Puzzle Room + publish
Finish Stage 9. Your obby has nine working stages and a readable coin machine.
the puzzle room, the Finish pad, the ExtensionPad celebration room, and a publish billboard with the game link
how to finish the 10-stage obby, publish a Studio file to Roblox, and verify the live game
a live, public, shareable Roblox tycoon obby focused on coins, upgrades, and a clear machine loop
90-second demo:
- Show the finished coin machine: Dropper -> Conveyor -> Collector, plus DropperUpgrade and CollectorUpgrade.
- Show the ExtensionPad billboard with a live Roblox URL.
- Open the game in the Roblox player, not Studio.
- Explain: "Publishing is the final artifact. The coin machine is simple enough to understand and strong enough to keep building later."
The big idea
Today's capstone turns the Studio file into a real Roblox game with a URL.
The course stays coin-focused to the end. You are finishing the obby, publishing the world, and making the ExtensionPad point players back to the live game.
By the end of Stage 10, you have:
- A complete 10-stage Roblox obby
- A start-area coin machine with Dropper, Conveyor, Collector, and coin-machine upgrades
- A published Roblox game with a public URL
- A billboard in the world that shows where to play the game again
- Publish
- uploading your local Studio file to Roblox's servers so it gets a public URL
- live game
- a published game players can join outside Studio
- ExtensionPad
- the celebration area behind the Finish pad where the final course artifact lives
- republish
- publishing again after edits so the live game receives the latest version
Build it
Step 1 — Build the puzzle room
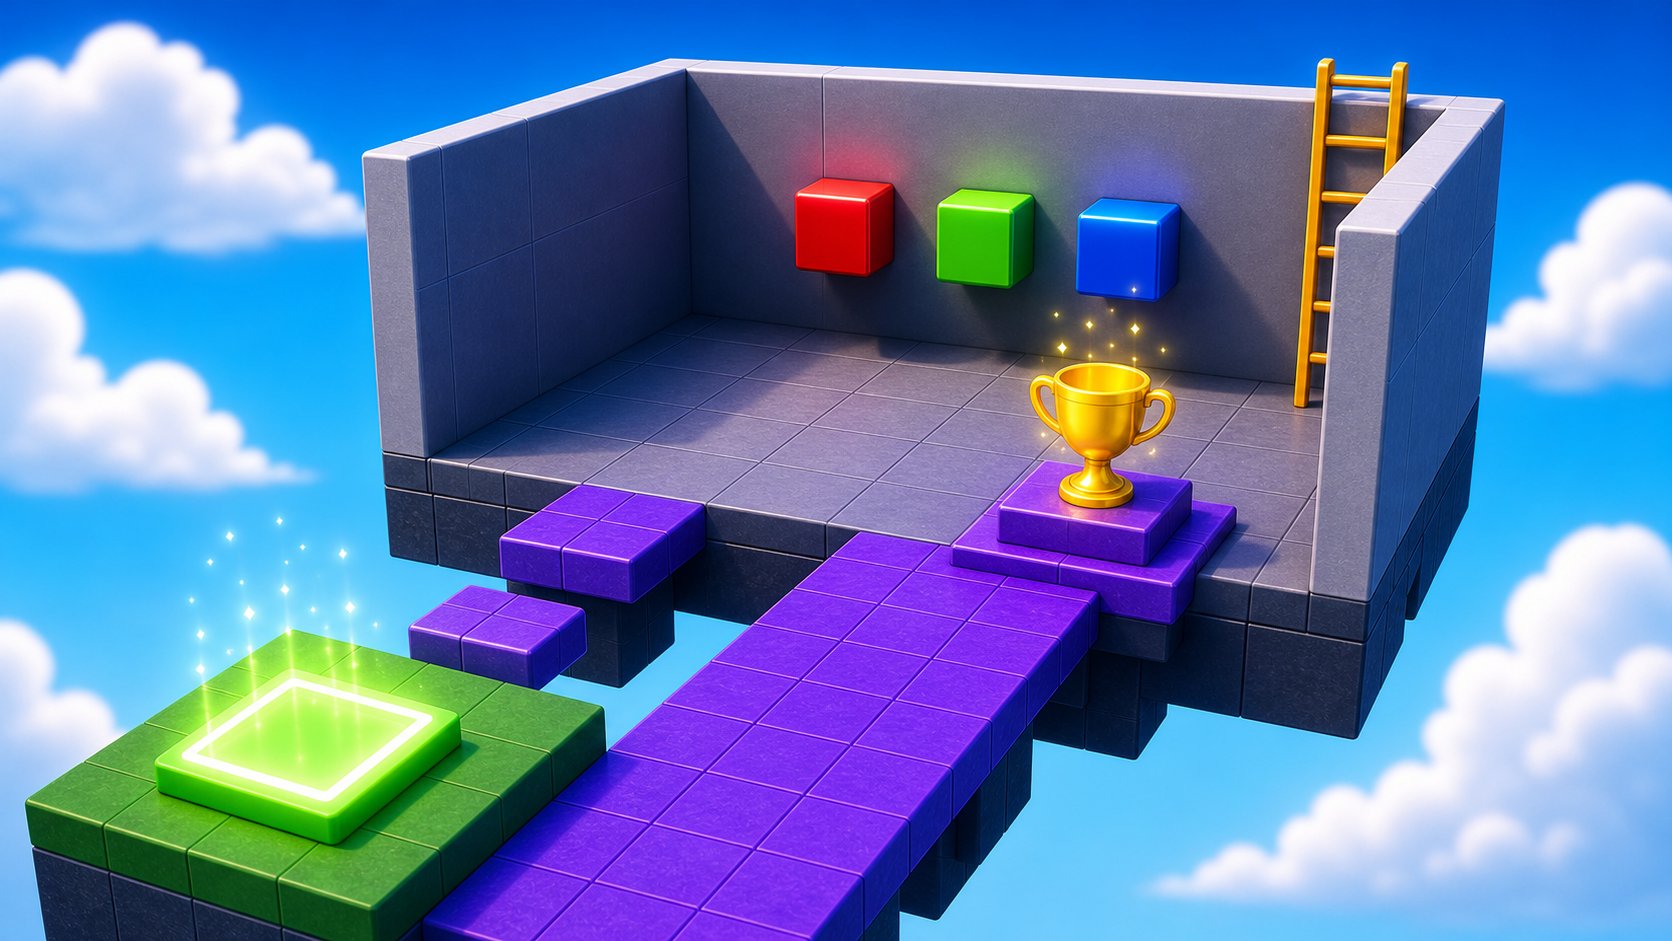
A small room with three colored buttons. Pressing them in the right order destroys the back wall. Same recipe as the base obby Stage 10.
Build this partPuzzleFloor
BlockOpen recipe
PuzzleFloor
Block- Size
- 12 × 1 × 12
- Color
- Dark stone grey
- Material
- Concrete
- Anchored
- ✓ Yes
- Place
- In front of the Stage 10 purple pad, stretching forward 12 studs
Build this partPuzzleWall_Left
BlockOpen recipe
PuzzleWall_Left
Block- Size
- 1 × 8 × 12
- Color
- Brick yellow
- Material
- Brick
- Anchored
- ✓ Yes
- Place
- Along the left edge of PuzzleFloor
Build this partPuzzleWall_Right
BlockOpen recipe
PuzzleWall_Right
Block- Size
- 1 × 8 × 12
- Color
- Brick yellow
- Material
- Brick
- Anchored
- ✓ Yes
- Place
- Along the right edge
Build this partPuzzleWall_Back
BlockOpen recipe
PuzzleWall_Back
Block- Size
- 12 × 8 × 1
- Color
- Really red
- Material
- Neon
- Anchored
- ✓ Yes
- Place
- At the FAR end of the room
The script finds this wall by name. Leave it named exactly PuzzleWall_Back.
Build this partButton_Green
CylinderOpen recipe
Button_Green
Cylinder- Size
- 1 × 2 × 2
- Color
- Lime green
- Material
- Neon
- Anchored
- ✓ Yes
- Place
- On PuzzleFloor, leftmost button
Build this partButton_Red
CylinderOpen recipe
Button_Red
Cylinder- Size
- 1 × 2 × 2
- Color
- Really red
- Material
- Neon
- Anchored
- ✓ Yes
- Place
- On PuzzleFloor, middle button
Build this partButton_Blue
CylinderOpen recipe
Button_Blue
Cylinder- Size
- 1 × 2 × 2
- Color
- Bright blue
- Material
- Neon
- Anchored
- ✓ Yes
- Place
- On PuzzleFloor, rightmost button
Right-click each Button_* part -> Insert Object -> ClickDetector.
Right-click PuzzleWall_Back -> Insert Object -> Script. Open the editor, delete the placeholder line, and type:
local wall = script.Parent

local greenButton = workspace:WaitForChild("Button_Green")
local redButton = workspace:WaitForChild("Button_Red")
local blueButton = workspace:WaitForChild("Button_Blue")

local correctOrder = {"Green", "Red", "Blue"}
local currentIndex = 1

local function handleButton(buttonName)
  local expected = correctOrder[currentIndex]
  if buttonName == expected then
    currentIndex = currentIndex + 1
    if currentIndex > #correctOrder then
      wall:Destroy()
    end
  else
    currentIndex = 1
  end
end

greenButton.ClickDetector.MouseClick:Connect(function()
  handleButton("Green")
end)

redButton.ClickDetector.MouseClick:Connect(function()
  handleButton("Red")
end)

blueButton.ClickDetector.MouseClick:Connect(function()
  handleButton("Blue")
end)
Step 2 — Build the Finish pad
This is the final SpawnLocation past the puzzle wall. StageNumber = 11 is the convention every Roblox course in this series uses for the win pad.
Build this partSpawnLocation (Finish — the win pad)
BlockOpen recipe
SpawnLocation (Finish — the win pad)
Block- Size
- 6 × 1 × 6
- Color
- Gold
- Material
- Neon
- Anchored
- ✓ Yes
- Place
- Behind where PuzzleWall_Back stood
Also: check AllowTeamChangeOnTouch. Uncheck Neutral. Set TeamColor to Gold.
Tag this SpawnLocation with StageNumber = 11.
In Teams, insert a new Team named Finished. Set its TeamColor to Gold. Uncheck AutoAssignable.
Step 3 — Build the ExtensionPad celebration room
Behind the Finish pad, build the celebration room. Every Roblox course in this series ends with the same ExtensionPad.
Build this partExtensionPad
BlockOpen recipe
ExtensionPad
Block- Size
- 20 × 1 × 20
- Color
- Bright yellow
- Material
- Marble
- Anchored
- ✓ Yes
- Place
- Behind the Finish pad — a large open celebration area
Wide enough to run around in. This is where the published-game artifact lives.
Decorate if time allows: banners, lights, or a small row of coin parts showing the tycoon theme.
Step 4 — Build the publish billboard
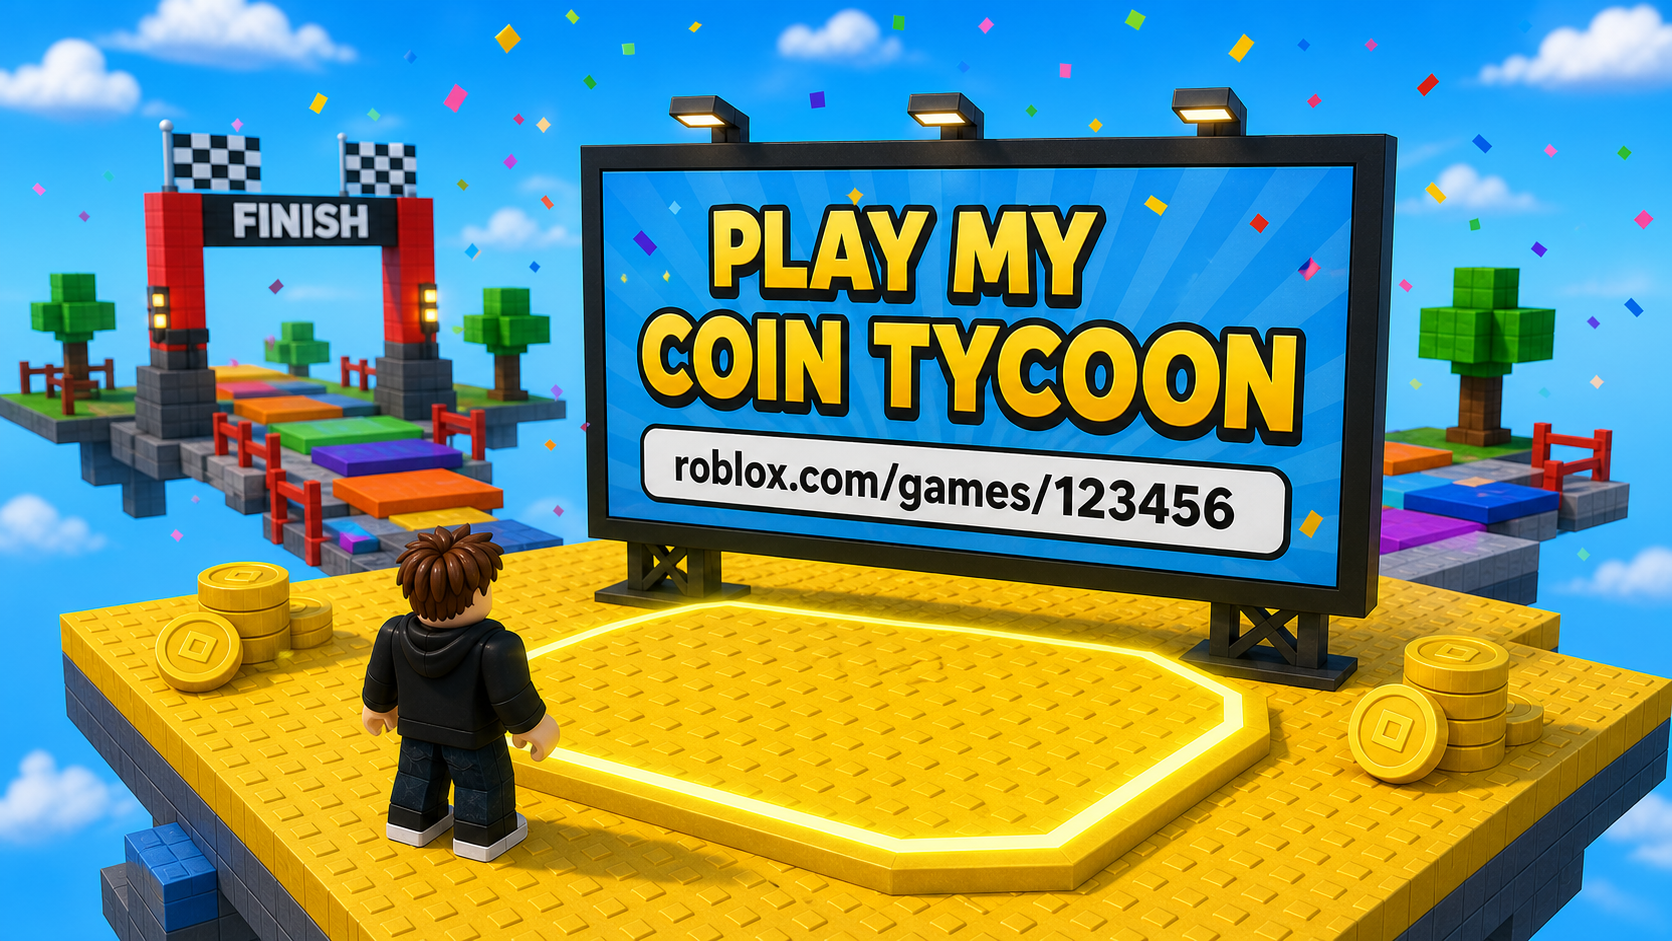
A large flat sign on the ExtensionPad displaying the game's URL once published.
Build this partPublishBillboard
BlockOpen recipe
PublishBillboard
Block- Size
- 10 × 6 × 0.5
- Color
- White
- Material
- Neon
- Anchored
- ✓ Yes
- Place
- Standing upright at the back of the ExtensionPad
A SurfaceGui inside will display the game URL once you have one.
- In Explorer, right-click PublishBillboard -> Insert Object -> SurfaceGui.
- Inside the SurfaceGui, insert a TextLabel.
- Set the TextLabel's Size to
{1, 0, 1, 0}. - Set TextScaled to true.
- Set Text to:
GAME COMING SOON
Publish the game
Save your file in Studio, then:
- In Studio's top menu: File -> Publish to Roblox.
- Click Create New Game or choose the existing game if you already published this file.
- Fill in Name with something clear, like
My Coin Tycoon Obby. - Fill in Description with one sentence:
A 10-stage obby with a working coin machine. - Choose a genre such as Adventure.
- Click Create or Publish.
Studio uploads your file. After a minute, your game has a URL like:
roblox.com/games/123456789/My-Coin-Tycoon-Obby
Update the billboard
Copy the live game URL. Click the PublishBillboard's TextLabel and replace GAME COMING SOON with:
PLAY THIS GAME:
roblox.com/games/123456789/My-Coin-Tycoon-Obby
Publish again so the live game includes the updated billboard.
Verify in the live game
- Visit your game's URL in a browser.
- Click Play so Roblox opens the game outside Studio.
- Test the coin machine: Dropper, Conveyor, Collector, DropperUpgrade, CollectorUpgrade.
- Play through the first few obby stages.
- Reach or inspect the ExtensionPad billboard and confirm it shows the correct URL.
Understand it
Publishing is the bridge from class project to real game. Until you publish, the tycoon is a Studio file. After publishing, it is a Roblox game other people can join.
Republishing matters. Any edit after the first publish stays local until you publish again. The billboard update is a good final proof: if the live game shows the URL, students understand that publishing pushes changes to the real Roblox version.
Try this
Try this
Three short experiments. Predict before you run, then test your guess.
If you change the billboard text in Studio but do not republish, what will players see in the live game?
Test the coin machine in Studio, then test it in the live Roblox player. What feels the same? What takes longer to load?
If you kept building this game next week, which coin-machine upgrade would you add first: faster conveyor, faster dropper, or bigger collector bonus?
Test your stage
- Press Play in Studio. Solve the puzzle in order: Green -> Red -> Blue.
- The back wall disappears.
- Touch the gold Finish pad. Counter increases by 11.
- Walk to the ExtensionPad and see the publish billboard.
- Publish the game to Roblox.
- Copy the live URL into the billboard.
- Publish again.
- Open the live game outside Studio and verify the coin machine still works.
- Send the URL to one friend or family member.
- Design check. The finished game is understandable: obby path, coin machine, upgrades, finish, and publish billboard.
If it breaks
- Publish to Roblox is greyed out. You are not signed in to Studio. Sign in from the top-right corner.
- The live game still says GAME COMING SOON. You updated the billboard in Studio but forgot to publish again.
- A friend cannot join. The game may still be private. Check the Creator Dashboard permissions and make the experience public if appropriate.
- The puzzle wall does not disappear. Check each button has a ClickDetector and the button names match
Button_Green,Button_Red, andButton_Blue. - The coin machine works in Studio but not live. Publish the latest version again and retest the live game.
Keep the capstone focused. Publishing plus live verification is enough real-world workflow for this course.
- 60 minutes. Puzzle room 15. Finish pad + ExtensionPad + billboard 15. Publish + URL update 15. Live verification + sharing 10. Buffer 5.
- The key final message: students built a complete obby and a working coin tycoon machine they can keep improving.