Stage 9: Kinetic KillWall
Make sure you've finished Stage 8: Spinning KillBricks.
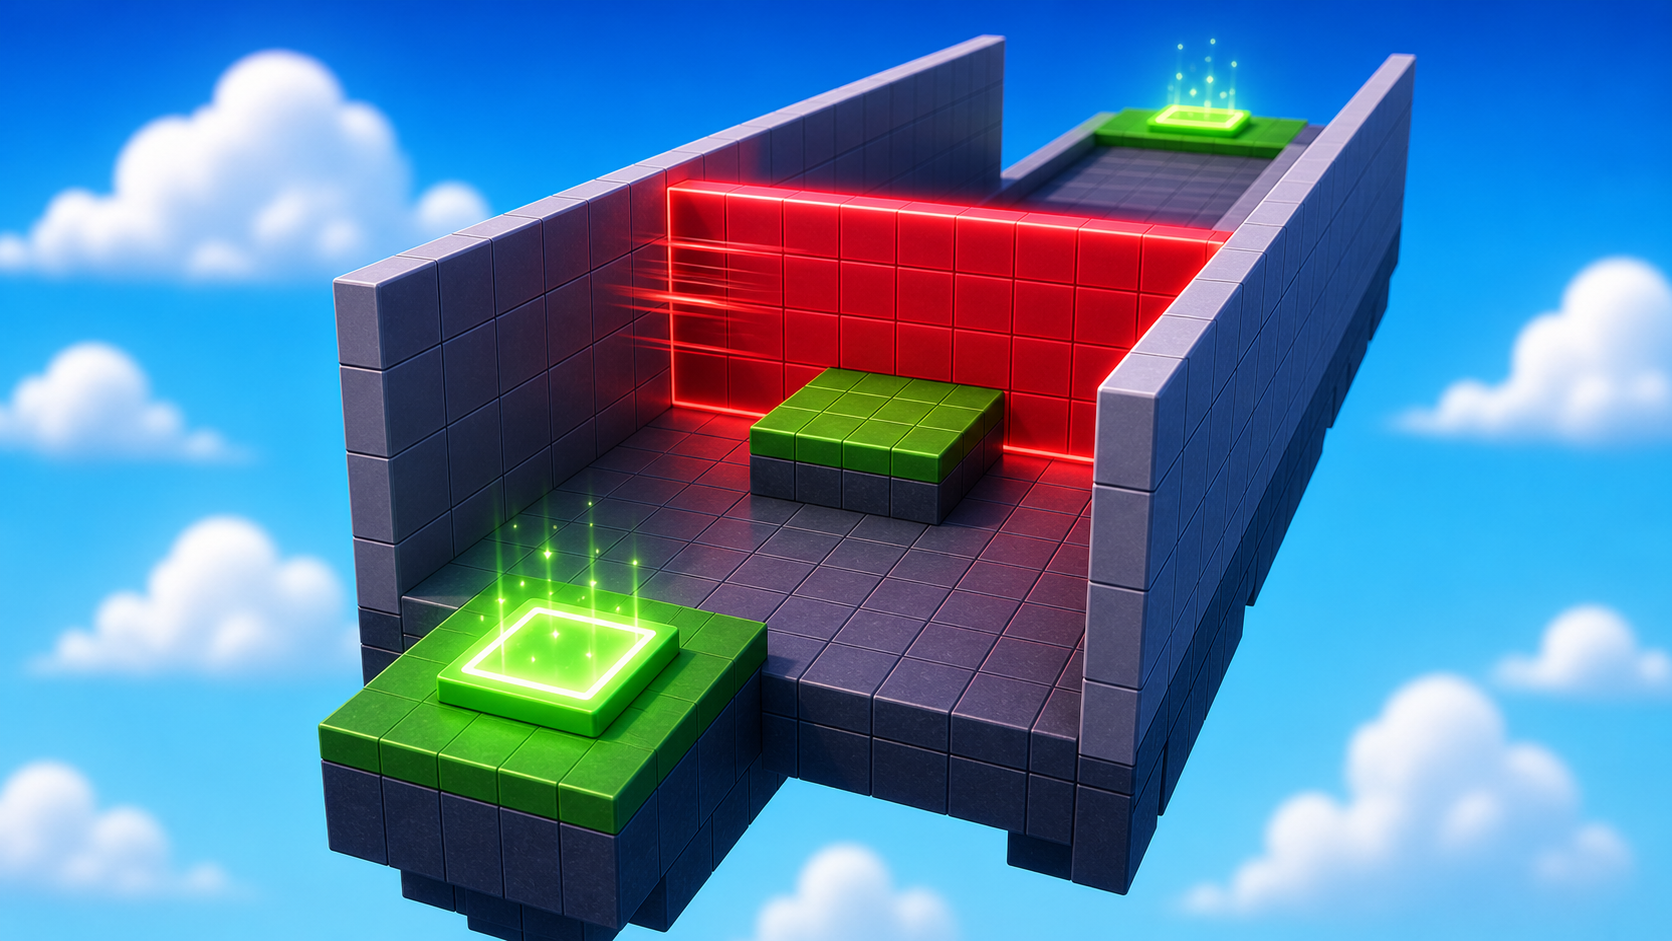
a hallway blocked by a moving wall
how motion can turn a room into a timing puzzle
a kinetic hallway that leads into the final stage

Preview the kinetic hallway where a moving wall turns a room into a timing puzzle.
Build this stage belowThe big idea
Stage 8's spinner danced in one spot. Today the danger slides across a hallway — a moving wall that comes at the player from one side and exits the other. The player has to time when to enter the hallway between passes.
The new design lesson is the entire room becomes the hazard. Stages 4–8 had hazards in one part of the level (a brick, a fireball cannon, a spinner). Today the whole hallway is dangerous when the wall is in it, and the whole hallway is safe when it's not. There's no safe corner to hide in. The only question is when to enter.
This stage is also the last hazard stage before the final puzzle room. By the end of today, the player has experienced static hazards (Stage 4), timed crossing hazards (Stage 5), hidden hazards (Stage 6), rolling hazards (Stage 7), and spinning hazards (Stage 8). Stage 9's sliding wall is the whole-room version. Stage 10's puzzle is the whole-game version.
Build it
Step 1 — Build the hallway
A floor, two side walls, and open doorways at the ends. The walls keep the player in the hallway — without them, the player would just walk around the danger.
Build this partHallFloor
BlockOpen recipe
HallFloor
Block- Size
- 6 × 1 × 30
- Color
- Dark stone grey
- Material
- Concrete
- Anchored
- ✓ Yes
- Place
- Right in front of the Stage 9 checkpoint, stretching forward 30 studs
The Z size (30) is important — the script reads it to figure out how far the sliding wall should travel.
Build this partHallWall_Left
BlockOpen recipe
HallWall_Left
Block- Size
- 1 × 8 × 30
- Color
- Brick yellow
- Material
- Brick
- Anchored
- ✓ Yes
- Place
- Along the left edge of HallFloor. Tall enough that a player can't jump over.
Build this partHallWall_Right
BlockOpen recipe
HallWall_Right
Block- Size
- 1 × 8 × 30
- Color
- Brick yellow
- Material
- Brick
- Anchored
- ✓ Yes
- Place
- Along the right edge of HallFloor, mirroring HallWall_Left
The two short ends of the hallway are open — no part there. Those are the doorways players enter and exit through.
Step 2 — Build the sliding wall
A solid red wall that fits inside the hallway. The script will slide it from one doorway to the other and back.
Build this partSlidingWall
BlockOpen recipe
SlidingWall
Block- Size
- 5.5 × 7 × 1
- Color
- Really red
- Material
- Neon
- Anchored
- ✓ Yes
- Place
- Inside the hallway at the FAR end (away from the Stage 9 checkpoint), snug between the side walls
X (5.5) just barely fits between the side walls. Y (7) is tall but doesn't reach the ceiling. Z (1) is the wall's thickness. Position it at the far end — the script slides it toward the checkpoint, then back.
Step 3 — Add the script that slides the wall
The script reads the hallway's length from HallFloor.Size.Z and slides the wall end-to-end. Right-click SlidingWall → Insert Object → Script. Delete the placeholder.
SlidingWall
The Script goes inside SlidingWall. The script needs to find HallFloor by name — make sure your floor is named exactly `HallFloor` in Explorer.
local wall = script.Parent
local floor = workspace:WaitForChild("HallFloor")

-- Tune speed to change difficulty. Lower = slower wall = more time to dash.
local speed = 0.3

local hallLength = floor.Size.Z
local startZ = wall.Position.Z
local endZ = startZ - hallLength + wall.Size.Z

wall.Touched:Connect(function(otherPart)
  local character = otherPart.Parent
  local humanoid = character:FindFirstChildOfClass("Humanoid")
  if humanoid then
    humanoid.Health = 0
  end
end)

while true do
  -- Slide from startZ down to endZ
  for z = startZ, endZ, -speed do
    wall.Position = Vector3.new(wall.Position.X, wall.Position.Y, z)
    wait(0.02)
  end

  -- Slide back from endZ up to startZ
  for z = endZ, startZ, speed do
    wall.Position = Vector3.new(wall.Position.X, wall.Position.Y, z)
    wait(0.02)
  end
end
Press ▶ Play. The wall slides smoothly from one end of the hallway to the other and back, forever. Touch it and you respawn.
Tune it
The speed = 0.3 line is your difficulty dial. The script also reads HallFloor.Size.Z and wall.Size.Z automatically, so if you change the hallway length or wall thickness, you don't need to change the script — it adapts.
speed = 0.2— slower wall, generous timing.speed = 0.3— the default.speed = 0.5— fast wall, sprint required.
Try different values and feel the difference.
Step 2 — Add the next checkpoint
Stage 10 checkpoint goes just past the hallway. This is the last regular checkpoint — the final one is the actual end of the game.
2.1 Add another SpawnLocation
In Explorer, right-click Workspace → Insert Object → SpawnLocation.
2.2 Set its properties
- BrickColor → a new color.
- AllowTeamChangeOnTouch → checked.
- Neutral → unchecked.
- TeamColor → matches the BrickColor.
2.3 Tag it with its stage number
Same gesture as Stage 1. In the Attributes section of Properties, add a StageNumber attribute (number type) and set its value to 10.
2.4 Add a Team
- In Teams, insert a new Team named Stage 10.
- Uncheck AutoAssignable.
- Set TeamColor to match.
Drag the SpawnLocation just past the hallway's exit.
Understand it
The script does something quietly clever: it reads HallFloor.Size.Z at the top to figure out how far to slide the wall. If you make a longer hallway tomorrow, you don't have to change the script — it reads the new length and adapts. That trick (read a number from the world instead of writing it as a literal) is called parameterized geometry, and it's how real game scripts avoid breaking every time someone resizes a level.
The side walls are doing more design work than they look like. They're not just decoration — they prevent the player from cheating the hazard. Without walls, the player walks around. With walls, the player has to commit to the hallway. Whenever a level has a moving threat, you'll find walls forcing the player to engage with it. Look at any platformer's "moving block" sections — there are always walls boxing in the lane.
The hard stretch's flickering doorway is the same idea as the wall, but flipped. The wall is always dangerous; only the position changes. The flickering door is always here; only the state changes. Same template (a hazard the player must time), different axis of change. Once you can see this, you can invent new hazards by mixing axes — a flickering wall, a moving doorway, a spinner that fades in and out, anything.
Try this
Try this
Three short experiments. Predict before you run, then test your guess.
Open SlidingWall's Script. Change speed = 0.3 to speed = 1.0. Predict what happens. Try it. If you went too far, is there still a safe gap to run through, or did you make the stage impossible?
Delete one of the hallway's side walls and play through. Compare to having both walls. Without the side wall, what does the player actually do? Why does forcing engagement matter for a timing hazard?
Stage 10 is the final stage — a puzzle room, not a hazard. Looking back at Stages 4 through 9: hazards changed (static, timed, hidden, rolling, spinning, sliding) but the checkpoint pattern didn't. Why do you think the course held that one thing constant?
Test your stage
Before moving on:
- Press ▶ Play and start from the Stage 9 checkpoint.
- Let the KillWall touch you once and confirm it sends you back.
- Time a clean run through the hallway.
- Touch the Stage 10 checkpoint, reset, and confirm you respawn there.
- Design check. Does the wall give players a clear opening to run through, or is the timing so tight it feels random?
If it breaks
- The wall doesn't move at all. The Script is probably outside the wall. In Explorer, the Script should be indented underneath SlidingWall. Check Output for a red error.
- Output shows
attempt to index nil with 'Size'. The script couldn't find HallFloor. Check the floor's name in Explorer — it must be exactlyHallFloor(capital H, capital F, no spaces). - The wall teleports instead of sliding smoothly. The
wait(0.02)inside theforloops is missing. Without it, all the steps run on the same frame and you only see the final position. - The wall starts in the wrong place. SlidingWall was placed at the wrong end of the hallway. Drag it back to the FAR end (the one away from the Stage 9 checkpoint).
- The wall doesn't hurt me. Standard Touched debugging: Script inside the wall,
Humanoidspelled correctly,humanoid.Health = 0. - Players can dodge by jumping over the wall. The wall is too short. Increase its Y size so it's taller than a Roblox jump (about 7 studs).
- The Stage 10 checkpoint is the wrong color. Standard checkpoint debugging — BrickColor, TeamColor, and the Stage 10 Team's TeamColor all need to match.