Stage 1: Ascending Walls + VR climbing
Make sure you've finished the Setup page. Your file should be saved, the green Baseplate floor should be gone, and you should have proven a LocalScript in StarterPlayerScripts can read VRService and print to Output.
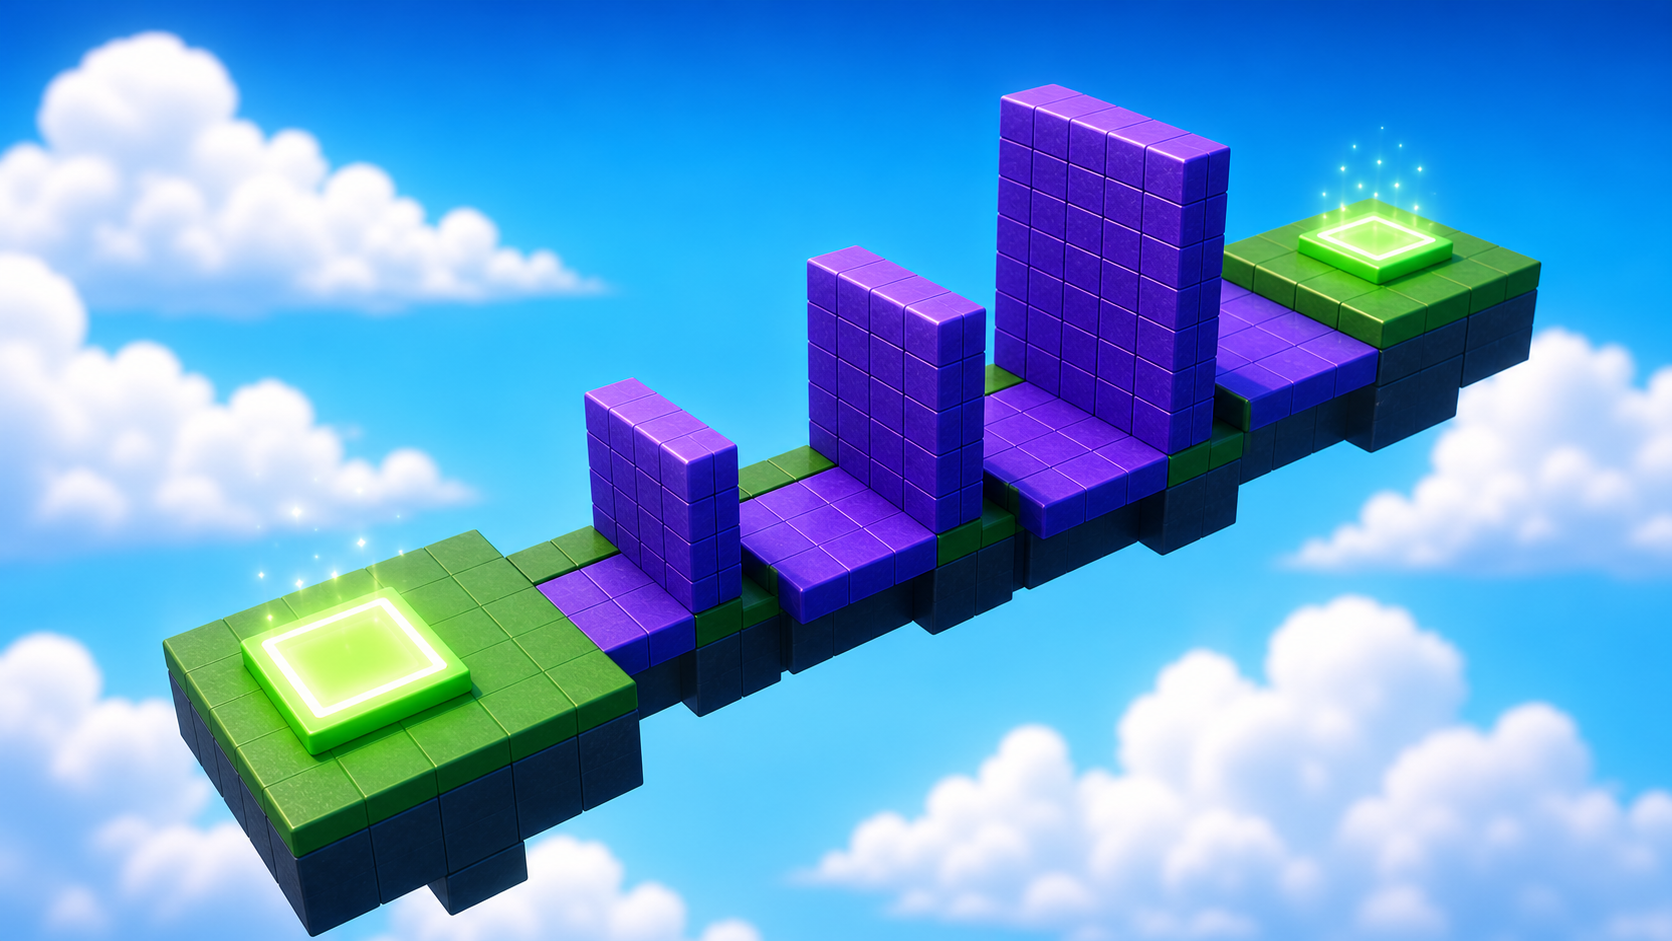
a three-block climbing wall and a two-checkpoint chain
how to read a VR hand controller and turn its motion into movement
a wall you can climb by jumping on a laptop AND by pulling with your hands in VR
The big idea
Every obby is a chain of checkpoints. A checkpoint is a save spot — if the player falls, they respawn at the last one they touched. In Roblox, a checkpoint is a visible SpawnLocation pad plus an invisible Team, linked by matching color.
That part is the same as every obby. Here is the new part. In VR, your hands are real. The headset reports where your left and right controllers are, every single frame. So a wall doesn't have to be something you jump up — it can be something you pull yourself up, hand over hand, the way you'd climb a real ladder.
Today you build the wall and the checkpoint, exactly like the base obby. Then you write the first piece of this course's shared VR script — a LocalScript that reads your hand and, when you grip near the wall and pull down, lifts your character up. On a laptop the wall is climbed by jumping (Roblox already does that). In a headset, the same wall is climbed with your hands. You can't test the VR part until the headset playtest in Stage 10 — and that's fine. You'll test the build by jumping today.
- SpawnLocation
- a pad that respawns the player to its position when they belong to its team
- Team / TeamColor
- an invisible group of players; the matching color is what links a pad to a team
- attribute
- a small custom label you stick on a part — like `StageNumber` or `Climbable` — that scripts can read
- UserCFrame
- a VR device's position and rotation; `Enum.UserCFrame.RightHand` is your right controller
- RenderStepped
- an event that fires every frame, right before the screen is drawn — where smooth, per-frame VR code runs
- AssemblyLinearVelocity
- the current speed and direction of a character or part; we'll use it to move the player
Build it
Step 1 — Wire the first checkpoint
The SpawnLocation already exists — the pad at the origin. Connect it to a Stage 1 team so it becomes the start of the obby.
1.1 Tune the SpawnLocation properties
Click the SpawnLocation in Explorer, open Properties, and set:
Build this partSpawnLocation (Stage 1 — the start pad)
BlockOpen recipe
SpawnLocation (Stage 1 — the start pad)
Block- Size
- 6 × 1 × 6
- Color
- Bright blue
- Material
- Plastic
- Anchored
- ✓ Yes
Also: check AllowTeamChangeOnTouch. Uncheck Neutral. Set TeamColor to Bright blue (must match BrickColor exactly).
1.2 Tag the SpawnLocation with its stage number
An attribute is a little label you can stick on any part. Every SpawnLocation in this obby gets a StageNumber attribute so scripts (and the other Roblox courses in this series) can find checkpoints by number.
- With the SpawnLocation selected, scroll Properties down to Attributes.
- Click the small + (Add Attribute).
- Name:
StageNumber. Type:number. Value:1.
1.3 Create the matching Team
- In Explorer, find the Teams folder. If it's missing, right-click the empty Explorer area → Insert Service → Teams.
- Right-click Teams → Insert Object → Team.
- Rename it Stage 1. Set its TeamColor to Bright blue (exactly the pad's color).
- Leave AutoAssignable checked. Stage 1 is the only team with it on.
Step 2 — Build the climbing wall
Three blocks of growing height. You'll build them from scratch — no Toolbox.
In Workspace, click + → Part three times, then tune each to match the recipes.
Build this partClimbBlock_Short
BlockOpen recipe
ClimbBlock_Short
Block- Size
- 4 × 5 × 2
- Color
- Medium stone grey
- Material
- Slate
- Anchored
- ✓ Yes
- Place
- In front of the SpawnLocation, sitting on the ground (Y position 2.5)
The middle Size number (5) is the block's height in studs.
Build this partClimbBlock_Mid
BlockOpen recipe
ClimbBlock_Mid
Block- Size
- 4 × 7 × 2
- Color
- Medium stone grey
- Material
- Slate
- Anchored
- ✓ Yes
- Place
- Right next to ClimbBlock_Short, taller (Y position 3.5)
Build this partClimbBlock_Tall
BlockOpen recipe
ClimbBlock_Tall
Block- Size
- 4 × 10 × 2
- Color
- Medium stone grey
- Material
- Slate
- Anchored
- ✓ Yes
- Place
- Right next to ClimbBlock_Mid, tallest (Y position 5)
Press ▶ Play and jump up all three blocks. The climb works with zero code — Roblox already knows how characters jump and stand.
2.1 Tag each block as climbable
Your VR script needs to know which walls a hand can grab. We mark them with an attribute — the same gesture as StageNumber, but a true/false label.
- Select ClimbBlock_Short. In Properties → Attributes, click +.
- Name:
Climbable. Type:boolean. Value: checked (true). - Do the same for ClimbBlock_Mid and ClimbBlock_Tall.
Now three parts in your game carry Climbable = true. The VR script you write in Step 4 will look for exactly that label, so it never tries to climb a random wall.
Step 3 — Place the second checkpoint
The Stage 2 checkpoint goes at the top of the climb.
3.1 Build the new SpawnLocation
Right-click Workspace → Insert Object → SpawnLocation. Tune it:
Build this partSpawnLocation (Stage 2 — top of the climb)
BlockOpen recipe
SpawnLocation (Stage 2 — top of the climb)
Block- Size
- 6 × 1 × 6
- Color
- Bright red
- Material
- Plastic
- Anchored
- ✓ Yes
- Place
- Sitting on top of ClimbBlock_Tall
Also: check AllowTeamChangeOnTouch. Uncheck Neutral. Set TeamColor to Bright red.
3.2 Tag it and create its team
- Add a
StageNumberattribute (number) with value 2 — same gesture as Step 1.2. - Right-click Teams → Insert Object → Team. Rename it Stage 2, set TeamColor to Bright red, and uncheck AutoAssignable.
Press Play. Climb the wall, touch the red pad, reset (Esc → Reset Character). You should respawn on the red pad — that proves the checkpoint works.
Step 4 — Add VR hand-climbing (the shared VR script)
This is the script you'll come back to in almost every stage, so build it carefully. It lives on the player's side, in StarterPlayerScripts — the only place VR can be read.
- In Explorer, expand StarterPlayer → right-click StarterPlayerScripts → Insert Object → LocalScript.
- Rename it
VRController. This one script is your VR toolbox for the whole course. - Double-click it and delete the placeholder line.
Pass 1 — Read the hand and prove it works
Type this first. It detects VR, reads your right hand every frame, and prints how far the hand is from the wall.
local Players = game:GetService("Players")
local RunService = game:GetService("RunService")
local VRService = game:GetService("VRService")

local player = Players.LocalPlayer
local camera = workspace.CurrentCamera

RunService.RenderStepped:Connect(function()
	if not VRService.VREnabled then return end

	-- The hand's spot in the world = the camera, combined with the hand's VR offset.
	local handCFrame = camera.CFrame * VRService:GetUserCFrame(Enum.UserCFrame.RightHand)
	print("Right hand height:", handCFrame.Position.Y)
end)
On a laptop, VRService.VREnabled is false, so the return stops the function and nothing prints — exactly right. In a headset, you'd see your hand's height stream into Output as you move your arm. This is the heartbeat of every VR feature: check we're in VR, then read a device.
Pass 2 — Grip near a wall and pull yourself up
Now extend the script. We add a grip flag (the VR trigger), a check for climbable walls, and the climb itself.
local Players = game:GetService("Players")
local RunService = game:GetService("RunService")
local UserInputService = game:GetService("UserInputService")
local VRService = game:GetService("VRService")

local player = Players.LocalPlayer
local camera = workspace.CurrentCamera

local CLIMB_REACH = 6      -- how close (studs) your hand must be to a Climbable wall
local gripping = false
local lastHandY = nil

-- Find every wall we tagged Climbable, once, when the game starts.
local climbableWalls = {}
for _, part in ipairs(workspace:GetDescendants()) do
	if part:IsA("BasePart") and part:GetAttribute("Climbable") then
		table.insert(climbableWalls, part)
	end
end

local function handIsOnWall(handPosition)
	for _, wall in ipairs(climbableWalls) do
		if (wall.Position - handPosition).Magnitude <= CLIMB_REACH then
			return true
		end
	end
	return false
end

-- VR controller triggers report as Gamepad1's ButtonR2 / ButtonL2.
UserInputService.InputBegan:Connect(function(input)
	if input.KeyCode == Enum.KeyCode.ButtonR2 or input.KeyCode == Enum.KeyCode.ButtonL2 then
		gripping = true
		lastHandY = nil
	end
end)

UserInputService.InputEnded:Connect(function(input)
	if input.KeyCode == Enum.KeyCode.ButtonR2 or input.KeyCode == Enum.KeyCode.ButtonL2 then
		gripping = false
		lastHandY = nil
	end
end)

RunService.RenderStepped:Connect(function()
	if not VRService.VREnabled then return end
	local character = player.Character
	local root = character and character:FindFirstChild("HumanoidRootPart")
	if not root then return end

	local handCFrame = camera.CFrame * VRService:GetUserCFrame(Enum.UserCFrame.RightHand)
	local handPosition = handCFrame.Position

	if gripping and handIsOnWall(handPosition) then
		if lastHandY then
			-- Hand moves DOWN -> body moves UP by the same amount. That's climbing.
			local pull = lastHandY - handPosition.Y
			root.CFrame = root.CFrame + Vector3.new(0, pull, 0)
		end
		lastHandY = handPosition.Y
	else
		lastHandY = nil
	end
end)
Press ▶ Play on your laptop. Nothing should change — you still climb by jumping, and Output stays clean. That clean run is the test we can do today: the script loads without errors and stays out of the way when there's no headset. The hand-climbing itself gets its first real run at the Stage 10 headset playtest.
With a headset on, walk up to the wall, squeeze the trigger to grip, and pull your hand straight down. Your body rises. Reach up, grip again, pull again — hand over hand, like a real climb. Let go of the trigger and you stop. It turns a jump into a workout your arms can feel.
How the VR climb reads your hand and lifts you
This is the course's shared VR script. The shape — check VREnabled, read a device, react — repeats in every VR stage. Read it until each block makes sense; later stages add to this same file.
local CLIMB_REACH = 6
local gripping = false
local lastHandY = nil

local climbableWalls = {}
for _, part in ipairs(workspace:GetDescendants()) do
	if part:IsA("BasePart") and part:GetAttribute("Climbable") then
		table.insert(climbableWalls, part)
	end
end

UserInputService.InputBegan:Connect(function(input)
	if input.KeyCode == Enum.KeyCode.ButtonR2 or input.KeyCode == Enum.KeyCode.ButtonL2 then
		gripping = true
		lastHandY = nil
	end
end)

RunService.RenderStepped:Connect(function()
	if not VRService.VREnabled then return end
	local character = player.Character
	local root = character and character:FindFirstChild("HumanoidRootPart")
	if not root then return end

	local handCFrame = camera.CFrame * VRService:GetUserCFrame(Enum.UserCFrame.RightHand)
	local handPosition = handCFrame.Position

	if gripping and handIsOnWall(handPosition) then
		if lastHandY then
			local pull = lastHandY - handPosition.Y
			root.CFrame = root.CFrame + Vector3.new(0, pull, 0)
		end
		lastHandY = handPosition.Y
	end
end)
Lines 1–3Remember three things between frames.
CLIMB_REACH is how near your hand must be to grab. gripping tracks whether the trigger is held. lastHandY remembers where your hand was on the previous frame — climbing is all about comparing this frame to the last one.
Lines 5–10Find the climbable walls once.
We scan Workspace a single time and keep only parts with the Climbable attribute you set in Step 2.1. Doing it once (not every frame) keeps the game fast. This is why tagging the blocks mattered.
Lines 12–17The trigger is the grip.
VR controllers report to Roblox as Gamepad1. The triggers come through as ButtonR2 and ButtonL2. When either is pressed we start gripping and clear lastHandY so the climb starts fresh. (Button names can vary by headset — confirm yours at the playtest.)
Lines 19–22Every frame, only in VR, only with a body.
RenderStepped runs each frame. We bail immediately if VREnabled is false (a laptop) or the character isn't loaded yet. Guard clauses like these keep the rest of the code safe to read.
Lines 24–25Turn the hand's VR offset into a world position.
GetUserCFrame gives the hand relative to the headset. Multiplying by the camera's CFrame places it in the actual world, so we can measure its real height and distance to a wall.
Lines 27–33Pull down to go up.
If you're gripping near a wall, we compare this frame's hand height to last frame's. Move your hand down and `pull` is positive, so the character's CFrame rises by that much. Release the trigger and the climb stops. That single subtraction is the whole illusion of climbing.
Understand it
A SpawnLocation + Team pair is the smallest save point Roblox gives you, and it's built from a color match — there's no master checkpoint list, so mismatched colors are the most common bug. That part of Stage 1 is the obby foundation every course in this series shares.
The VR climb is the new idea, and it works because of one honest trick: movement is just a difference between two moments. Each frame we ask "where is the hand now versus a moment ago?" If it dropped, we lift the body by the same amount. Stack dozens of those tiny lifts per second and it reads as a smooth climb. We chose to move the HumanoidRootPart directly (instead of a physics force) because climbing should feel locked to your hand, not floaty — your body goes exactly as far as you pull, no more.
We put this in a LocalScript in StarterPlayerScripts because the server has no idea where your hands are. VR is personal to one player's machine, so VR code lives on the client. That's the rule for every VR upgrade in this course.
Try this
Try this
Three short experiments. Predict before you run, then test your guess.
In the climb code, CLIMB_REACH is 6. Predict what happens in VR if you change it to 1. What about 30? Decide before you reason it out: which value makes the wall feel "sticky" and which makes it almost impossible to grab?
The script reads Enum.UserCFrame.RightHand. Imagine a version that reads LeftHand instead, and a version that reads both and climbs with whichever is gripping. Which feels most like real climbing — and what does that tell you about why two-handed games feel better in VR?
You tagged walls with a Climbable attribute so the script could find them. Where else in your obby might a true/false tag like this be useful? (Hint: think about which parts should hurt you, or which should bounce you.) You'll use this exact pattern again in later stages.
Test your stage
- Press ▶ Play and start on the blue pad.
- Climb all three blocks by jumping (the laptop path) without falling.
- Touch the red pad, reset your character, and confirm you respawn on the red pad — not the blue one.
- Open Output during Play. It must be empty — no red errors. A typo in
VRControllershows up here. - Confirm all three ClimbBlocks have
Climbable = truein Attributes, andVRControlleris a LocalScript inside StarterPlayerScripts. - Design check. Stand back. Could a new player spot the route in under three seconds? If not, move the blocks closer or brighten the colors. A climb you can read is a climb that's fun in VR or on a laptop.
If it breaks
- Red errors in Output mention
VRController. Re-read that line against the code above — usually a missing parenthesis or a misspelledEnum.UserCFrame.RightHand. Lua is case-sensitive. - I respawn at the blue pad. Color mismatch. The red pad's BrickColor, its TeamColor, and the Stage 2 Team's TeamColor must all be the same named color.
- New players start on the red pad. AutoAssignable is still checked on Stage 2. Uncheck it.
- The new SpawnLocation falls. Turn on Anchored.
- My character falls through the blocks. CanCollide is unchecked on a block — turn it on.
- The climb doesn't work… but I'm on a laptop. That's expected. There's no headset, so
VREnabledis false and the climb is asleep on purpose. You climb by jumping today; the VR climb wakes up at the Stage 10 playtest.
Two checks per laptop. First, VRController must be a LocalScript in StarterPlayerScripts — campers coming from Tycoon will reach for a server Script out of habit, and it silently won't run. Second, all three blocks need Climbable = true; a block that's missing the tag will be un-grabbable in VR and the camper won't find out until the playtest, so catch it now.
The big idea to reinforce out loud: "we can't test VR today, and that's normal." The empty Output on a clean Play is today's pass. Frame the headset as the finale, not a missing piece. Budget the full 50 minutes — the build is quick; reading the VR script together is where the stage earns its time.