Setup
A one-time setup for the whole course.
You will open a blank place, delete the floor, lay down the same Start Platform used across the Roblox course family, find the Studio panels you need, and prove that a script on the player's side can run and print to Output.
The big idea
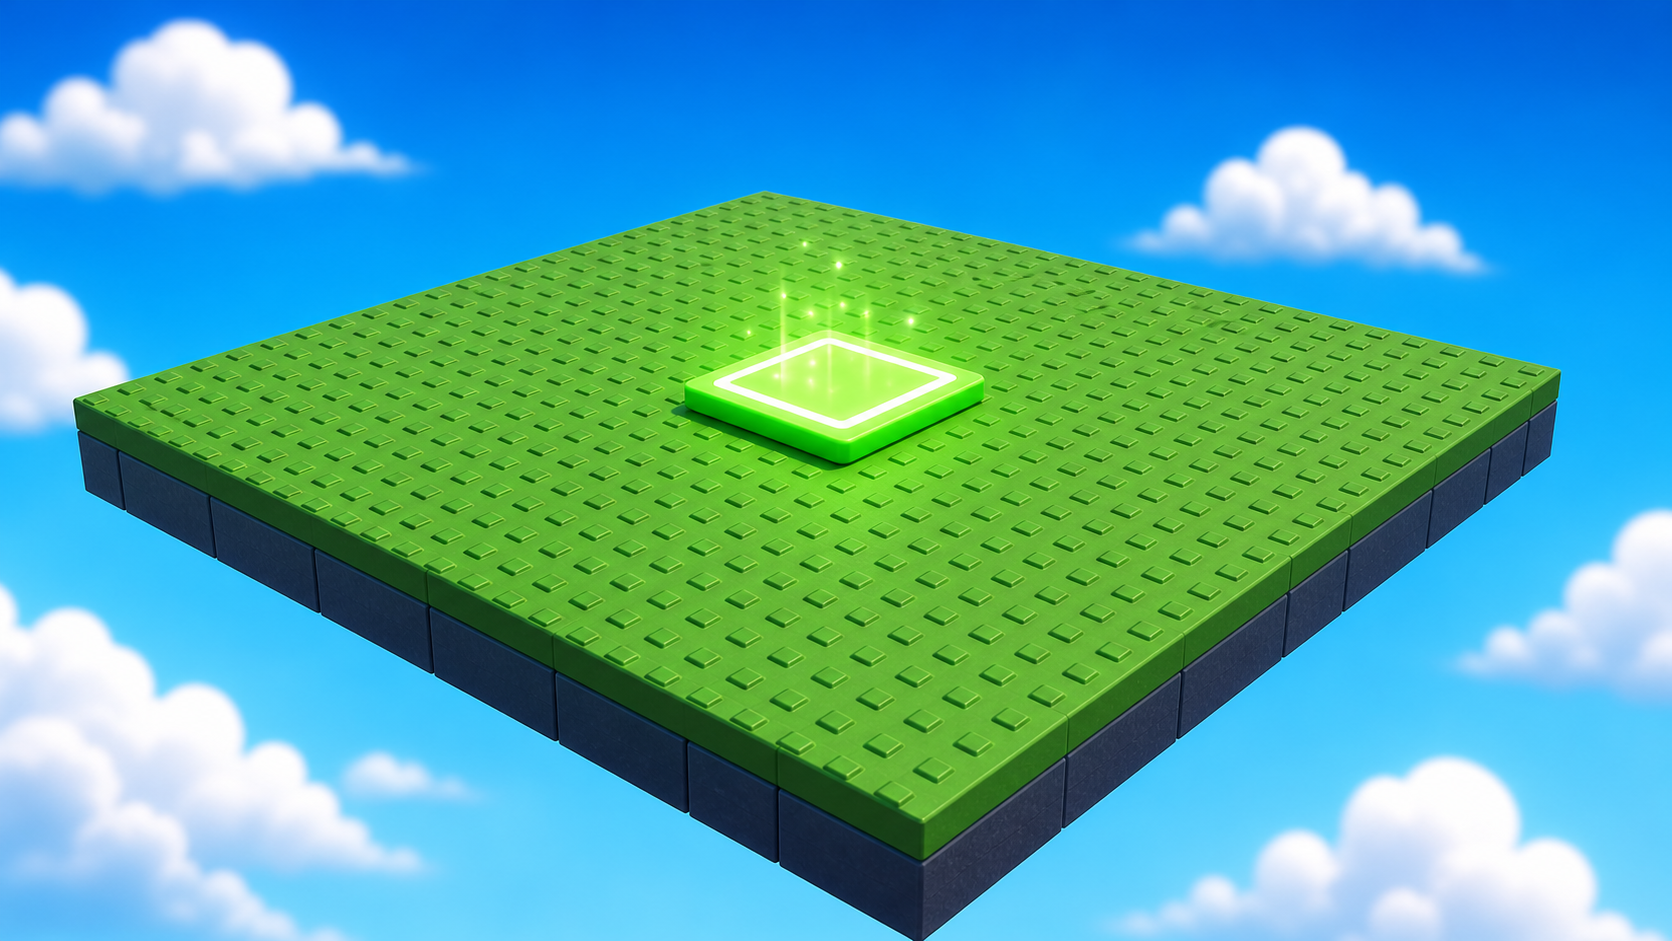
This course starts from the same world shape as Launch Your Own Obby Game: a Start Platform, ten obstacle stages, checkpoints, a finish pad, and an ExtensionPad.
The difference is how the player moves and feels. In VR Game Lab you add two layers to that familiar world. First, physics parkour — launch pads, a player cannon, and low-gravity zones that move the character with real forces. You build and test all of that on a normal laptop. Second, real Roblox VR — code that reads the headset and hand controllers so you can climb with your hands, duck under boulders, and grab a swinging arm.
Here is the new idea that makes VR work: some code runs on the player's computer, not on the server. A headset, a head position, and two hand controllers only exist on one player's machine. So VR code lives in a LocalScript inside StarterPlayerScripts — a copy is handed to each player when they join. That is different from Tycoon and Makers, where money and trusted logic lived in server Scripts. Today you will find StarterPlayerScripts and prove a LocalScript runs.
You will not have a headset for most of this course, and that is fine. Every stage is fully playable in first person on a laptop. The headset is the reward at the very end, in Stage 10.
- Explorer
- the panel listing everything in your game — parts, scripts, services, folders
- Properties
- the panel showing the selected part's size, color, anchored state, attributes, and more
- Output
- the panel that shows messages from `print()` and red error messages when code breaks
- Workspace
- the folder in Explorer that holds every 3D part the player can see and touch
- LocalScript
- a script that runs on one player's own computer — the only place VR, the camera, and the controllers can be read
- StarterPlayerScripts
- a folder whose LocalScripts are copied to every player when they join — the home for this course's VR code
- VRService
- the Roblox service that tells your code whether the player is in VR and where their head and hands are
Build it
Step 1 — Open the Baseplate template
Open Roblox Studio and sign in if it asks.
On the New tab, pick Baseplate. It gives you a flat floor, a sky, and one SpawnLocation.
Step 2 — Delete the Baseplate
Your obby will float in the sky. If you leave the green floor, every block you add later will sit on it and falling will not matter.
- In the Explorer panel, expand Workspace.
- Find Baseplate.
- Right-click it -> Delete.
The floor is gone. You should see just the SpawnLocation against the sky.

Step 3 — Build the Start Platform
The SpawnLocation can't float in nothing. Every Roblox course in this series builds the same small Start Platform under it.
For VR Game Lab, the Start Platform is the safe place where a player gets their bearings before the parkour begins — and the calm spot where putting on a headset feels comfortable.
- In Workspace, click + -> Part.
- Open the Properties panel for the new part and set:
- Size ->
[30, 1, 30] - BrickColor -> something calm, like light grey, sand, or white
- Material -> Concrete or Smooth Plastic
- Anchored -> checked
- Size ->
- Rename the part Lobby. That shared part name keeps later course instructions compatible, even though we will talk about it as the Start Platform.
- Drag the SpawnLocation so it sits centered on top of the Start Platform.
Same size, same safe-start role, same Lobby part name in Explorer. Later stages can reference the part reliably while the course stays focused on parkour and VR.
Step 4 — UI Scavenger Hunt
Before we start building, find the Studio panels and services you will use every stage.
- The Toolbox — pre-made parts. You will use it lightly; most VR Lab work is built and scripted by hand.
- The Properties panel — where you change Size, Color, Material, Anchored, and Attributes.
- The Explorer panel — the list of everything in your game.
- The Output window — where Roblox prints messages and red errors.
- The big green Play button — to test your game.
- The Workspace folder in Explorer — where your visible parts live.
- The Teams folder in Explorer — used for checkpoints starting in Stage 1.
- The StarterPlayer folder in Explorer, and the StarterPlayerScripts folder inside it — where your VR LocalScripts live.
- VRService in the Explorer's services — the service your VR code asks "is this player in a headset, and where are their hands?"
Workspace and Teams are easy to spot. StarterPlayerScripts lives inside StarterPlayer — expand StarterPlayer and you will see it. VRService is a built-in service near Workspace, Lighting, and ReplicatedStorage. If you do not see services listed, that is normal — Studio hides empty ones until something uses them. You will still place your code in StarterPlayerScripts, and VRService is always available to code even when it is not shown in the tree.
Try the LocalScript round trip
You are not writing VR code yet. This is just a quick proof that StarterPlayerScripts, the Script editor, and Output are working — on the player's side, where VR lives.
- In Explorer, expand StarterPlayer, then right-click StarterPlayerScripts -> Insert Object -> LocalScript.
- Rename the script
SetupVRTest. - Double-click it to open the Script editor.
- Replace the placeholder line with:
local VRService = game:GetService("VRService")

if VRService.VREnabled then
	print("A VR headset is connected")
else
	print("No headset — playing on a laptop, and that is fine")
end
Press Play. Look at the Output window. If you cannot see it, open View -> Output.
Because you are testing on a laptop, you should see:
No headset — playing on a laptop, and that is fine
That is the line we want. VRService.VREnabled is false on a laptop and true in a headset, so the same code will print the other message in VR. This one check is the heart of every VR upgrade in this course.
Stop the game, then delete SetupVRTest. It was only for the setup tour.
Step 5 — Save the project
In Studio's top menu: File -> Save As.
Name your file something like My VR Obby — First Last. You will come back to this same file at the start of every stage.
Understand it
We delete the Baseplate because this is still an obby. Falling should send players back to a checkpoint, not onto a safe floor.
We build the Start Platform because every obby needs one clear, safe beginning. VR Game Lab adds parkour and VR along the same ten-stage path, but the world still grows from this one calm start.
We tested a LocalScript in StarterPlayerScripts because VR is a property of one player's machine. The server cannot read your headset or your hands. So every VR upgrade in this course is client code that lives here and asks VRService what the player is doing.
Setup is only for the shared foundation and the first LocalScript round trip. The parkour and VR start in Stage 1 and grow one simple piece at a time.
Test your setup
- Studio is open with a Baseplate project.
- The Baseplate is deleted.
- A Start Platform part named Lobby, size
[30, 1, 30], is anchored in Workspace. - The SpawnLocation sits centered on top of the Start Platform.
- You found Explorer, Properties, Output, Workspace, Teams, and StarterPlayerScripts.
- You typed a LocalScript in StarterPlayerScripts, pressed Play, and saw the "No headset" message in Output.
- You deleted the setup test script.
- Your file is saved with a name you will recognize tomorrow.
If it breaks
- I can't find StarterPlayerScripts. Open View -> Explorer, then expand StarterPlayer. StarterPlayerScripts is the folder inside it. If StarterPlayer is missing, your project is not a normal place file — start again from a Baseplate.
- The Output window is missing. Top menu: View -> Output.
- Nothing printed. Confirm the script is a LocalScript (not a Script) and that it is indented under StarterPlayerScripts, not next to it. Press Play again and check that the script is not Disabled in Properties.
- It printed the "VR headset is connected" line on a laptop. That is very rare — it usually means a headset or VR software is running in the background. It will not affect the build.
- I deleted the SpawnLocation. Press Undo. If Undo does not work, right-click Workspace -> Insert Object -> SpawnLocation, then move it back onto the Start Platform.
- Studio looks different. Roblox updates Studio often. Use the View menu to reopen missing panels before moving on.
Check every laptop for two details: the Start Platform part is named exactly Lobby, and the test script is a LocalScript placed inside StarterPlayerScripts (campers who used a server Script in earlier courses will reach for the wrong one). Getting the client-vs-server idea right now is what makes every VR stage make sense.
You do not need headsets for setup or for most stages — the whole build is laptop-friendly. If you do have a headset for the camp, save it for the Stage 10 playtest so the payoff lands.