Stage 3: Plank Walkway
Make sure you've finished Stage 2: Sphere Staircase. Stage 3 picks up right where it left off.
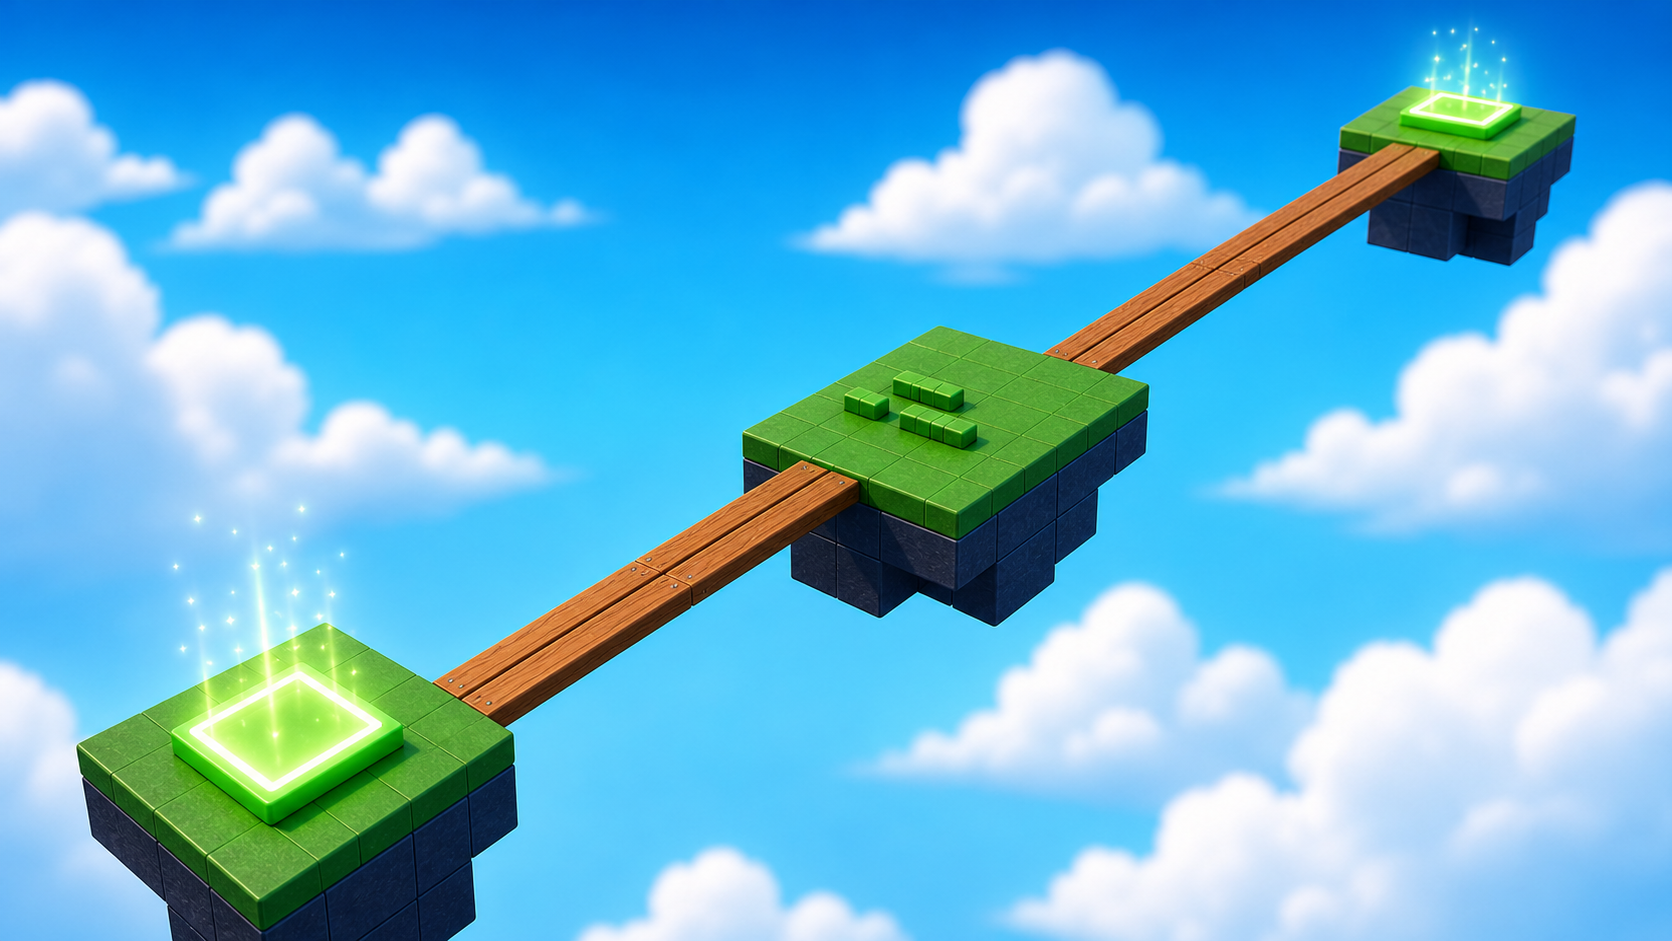
a narrow plank bridge with a rest stop
how long parts and collision settings shape player movement
a bridge section with a checkpoint at the far end

Preview the narrow plank bridge with a rest platform before the next checkpoint.
Build this stage belowThe big idea
Stages 1 and 2 asked the player to jump up. Today's stage asks them to walk across. A walkway might sound easier, but a long thin plank in the sky is one of the most stressful obstacles in any obby — one slip and you're falling.
The new design lesson is narrowing the path increases tension. We don't add hazards or moving parts — we just shrink how wide the walkable surface is. That's it. The player's imagination does the rest.
We also introduce a rest stop in the middle: a wider platform where the player can pause. Rest stops are a small but powerful design tool — they give the player a moment to breathe and turn one long scary section into two short ones.
Build it
Step 1 — Build the planks
Three long thin planks connected by a wider rest-stop platform in the middle.
1.1 Make three planks
In the Workspace, click + → Part three times. Click each block and set its BrickColor and Material — wood looks great here.
1.2 Make them long and narrow
Planks are long, thin, and narrow. In Properties, set each block's Size to [2, 1, 21]. That's short width, thin height, and long length — exactly the shape of a wooden plank.
1.3 Add a rest stop
Make one more block and set its Size to [13, 1, 6]. That's a wide, thin platform — wide enough for a player to stand on without aiming.
1.4 Line them up
Drag the three planks end-to-end, with the rest stop in the middle (between plank 2 and plank 3). Press ▶ Play and walk across.
Long thin planks feel risky to walk on — that's the point.
Step 2 — Add the next checkpoint
Same drill — a SpawnLocation at the end of the walkway and a matching Team. This is the third time you've done this. By Stage 4 it'll feel automatic.
2.1 Add another SpawnLocation
In Explorer, right-click Workspace → Insert Object → SpawnLocation.
2.2 Set its properties
- BrickColor → a new color.
- AllowTeamChangeOnTouch → checked.
- Neutral → unchecked.
- TeamColor → matches the BrickColor.
2.3 Tag it with its stage number
Same gesture as Stage 1. In the Attributes section of Properties, add a StageNumber attribute (number type) and set its value to 4.
2.4 Add a Team
- In Teams, insert a new Team named Stage 4.
- Uncheck AutoAssignable.
- Set TeamColor to match.
Drag the SpawnLocation onto the end of your walkway.
Understand it
A plank in Roblox is just a part stretched along one axis. Size = [2, 1, 21] means the part is 21 studs long, 2 studs wide, and 1 stud thin — but it's the same kind of part as Stage 1's wall blocks. Roblox treats every part the same. Stretching one dimension is how you turn the same primitive into walls, floors, planks, ramps, beams, doorways, anything.
The rest stop in the middle is a borrowed idea from level design. Real games do this everywhere: a save point before a boss fight, a wide platform between two narrow jumps, a fountain in the middle of a maze. The player gets a moment to stop being afraid, which makes the next plank feel new instead of exhausting.
The CanCollide trick in the medium stretch is the most surprising tool in Roblox Studio. Whether a part collides with the player is a separate setting from whether it's visible. You can have an invisible-but-solid wall (anchored part with Transparency = 1) or a visible-but-empty plank (CanCollide = false). Game designers use this for fake walls, secret passages, and decorative-only props.
Try this
Try this
Three short experiments. Predict before you run, then test your guess.
Try planks of different lengths — [2, 1, 15] then [2, 1, 30]. Predict which feels more dangerous before you walk them. Were you right? What changed?
Set one plank's CanCollide property to false and color it the same as the real ones. Now walk across without knowing which one is fake. How different does the walk feel when you can't trust the floor?
Stage 4 starts adding hazards — bricks that send the player back to the last checkpoint. Look at your plank walkway. If a hazard appeared on one of these planks, where would be the worst spot to put it, and why?
Test your stage
Before moving on:
- Press ▶ Play and start from the Stage 3 checkpoint.
- Walk across the planks without falling off the sides.
- Stop on the rest platform, then finish the bridge.
- Touch the Stage 4 checkpoint, reset, and confirm you respawn there.
- Design check. Was the rest stop in the right place? Did the player feel relief stopping there, or did it feel pointless?
If it breaks
- My character keeps falling off the planks. That's the design — narrow planks are supposed to be scary. If it's impossible (not just scary), widen them to
[3, 1, 21]so there's a little more room. - The plank size numbers are confusing. The middle number is height (how thick the plank is). The first number is width. The last number is length. So
[2, 1, 21]= 2 wide, 1 thick, 21 long — a flat thin board. - Players keep cheating by walking around the planks. That happens when there's no edge of the sky preventing it. Either widen each plank slightly so missing it is genuinely scary, or add invisible walls (
Transparency = 1,CanCollide = true) on the sides. - My rest stop is at floor level but the planks are floating. Anchor problem. Click the rest stop, find Anchored in Properties, and check it. Then drag it to plank height.
- The Ctrl+D duplicate copied to a weird spot. Roblox places duplicates with a small offset. Click the duplicate immediately after copying and drag it where you want — before it gets lost in a pile.