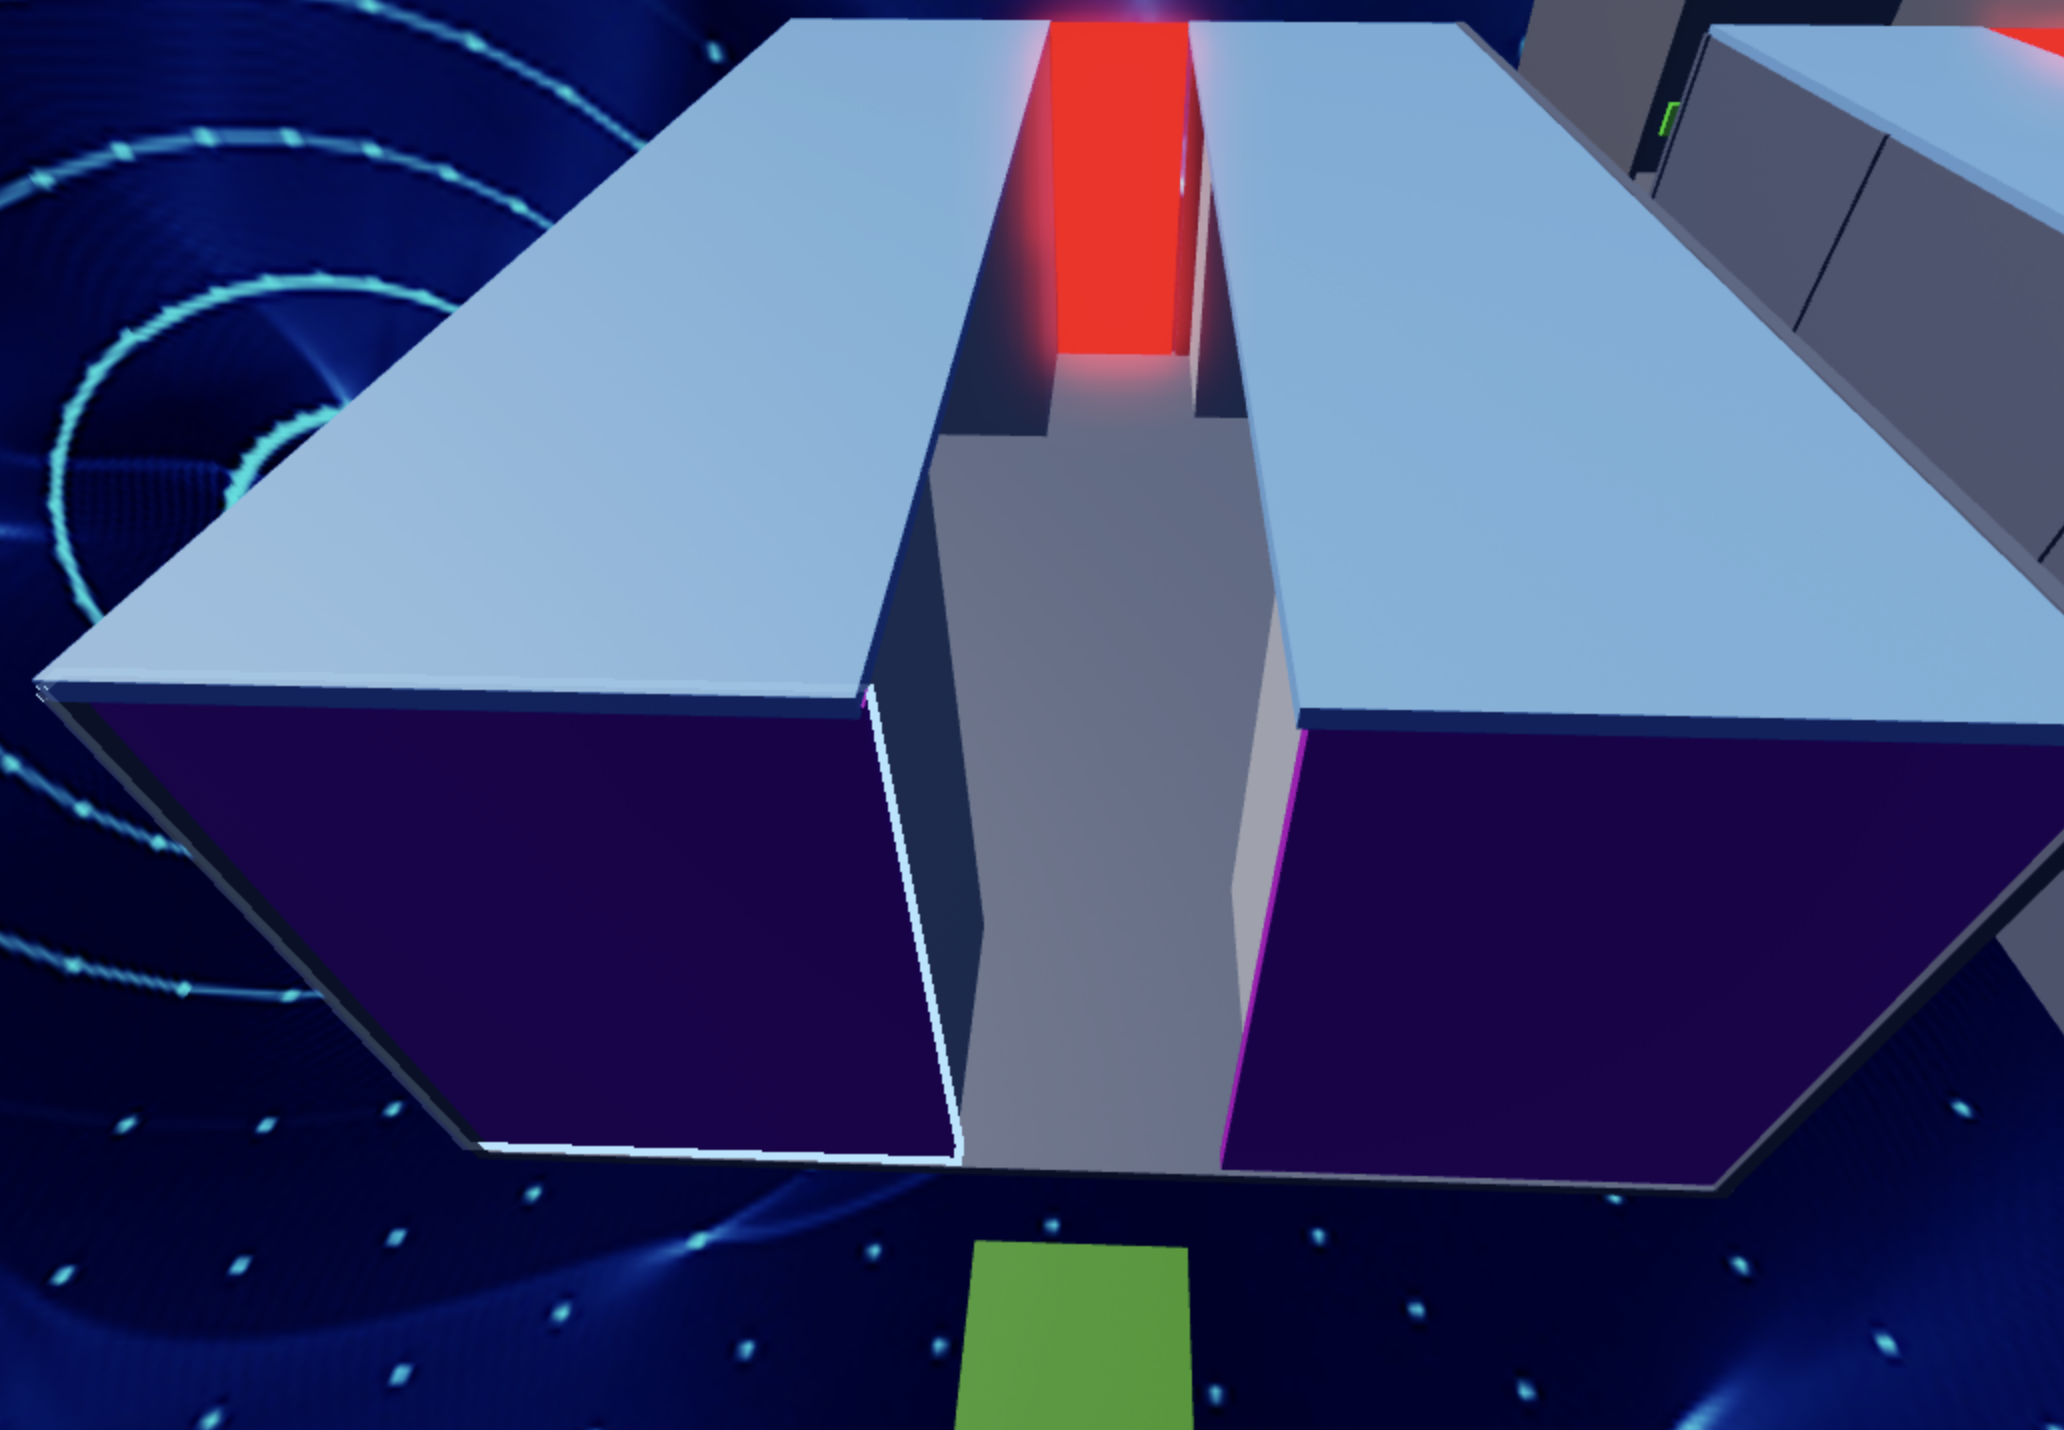
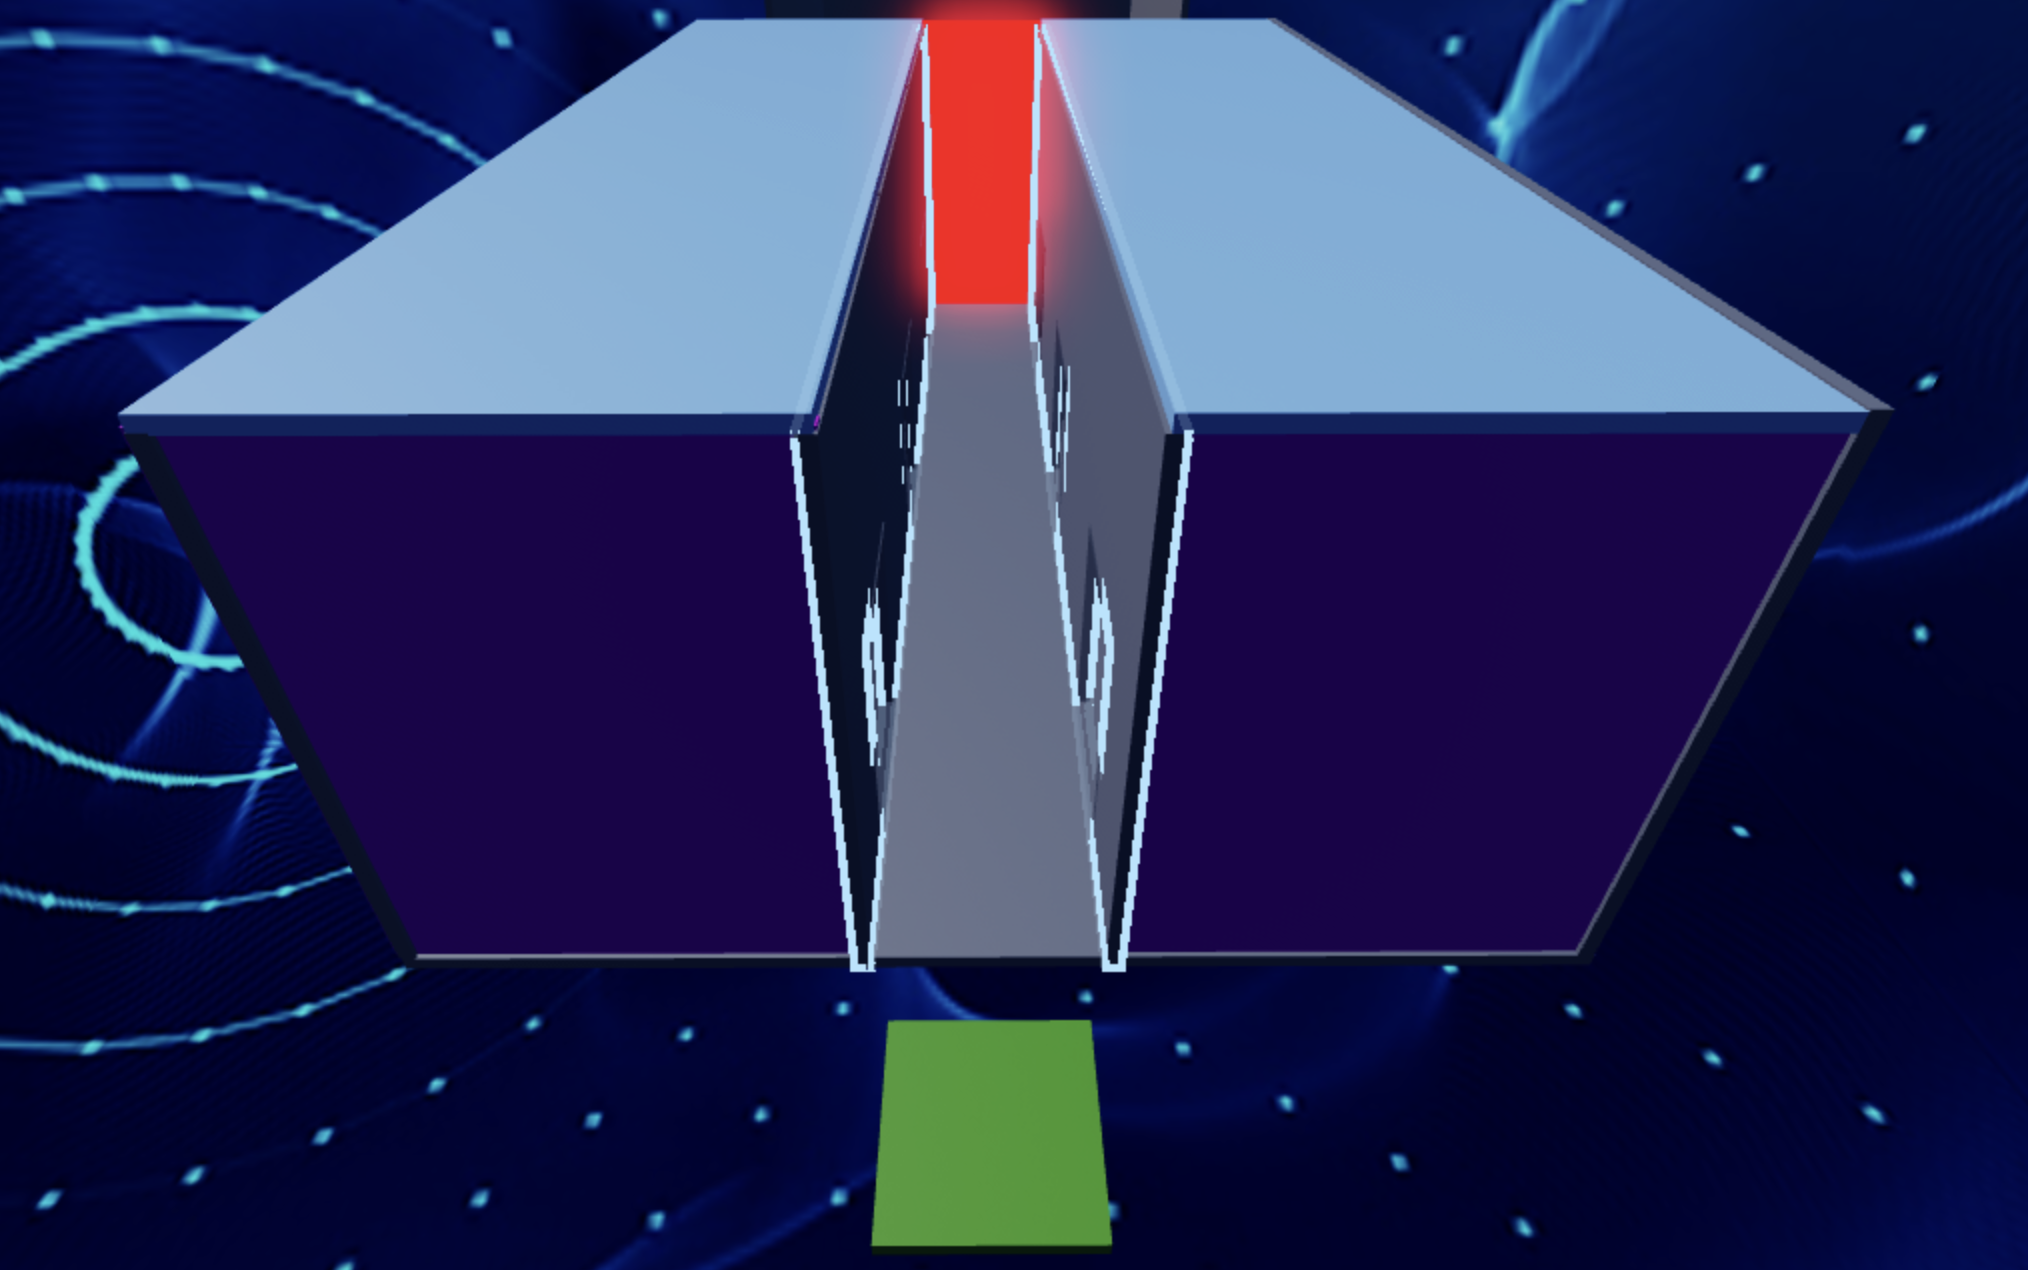
Stage 9: Kinetic KillWall
Prerequisites: Before You Dive In!
Prepare yourselves for the next VR adventure! Before embarking on Stage 9's thrilling journey through the Kinetic KillWall in our virtual world, make sure you've conquered the following immersive challenges:
1. Intro
Begin your VR journey into the world of obstacles and challenges.
2. Setup
Lay the groundwork for your adventure by preparing your virtual environment.
3. Stage 1: Ascending Walls
Scale towering virtual walls to reach new heights.
4. Stage 2: Sphere Stairs
Navigate a staircase of spheres in the virtual realm to advance.
5. Stage 3: Plank Walkway
Traverse a precarious VR path made of planks.
6. Stage 4: KillBrick Path
Brave a virtual path littered with deadly obstacles.
7. Stage 5: Fireball Footpath
Dodge fireballs in a fiery virtual world as you make your way forward.
8. Stage 6: Military Minefield
Navigate through a virtual field of hidden dangers.
9. Stage 7: Rolling Rocks
Evade rolling boulders in the virtual terrain as you progress.
10. Stage 8: Spinning KillBricks
Conquer virtual platforms while avoiding spinning obstacles.
Once you've triumphed over these immersive trials, you'll be ready to face the Kinetic KillWall head-on in our thrilling VR world! 🚀🌟
Objective 🧐🗿
Get ready for the pulse-pounding excitement of Stage 9: Kinetic KillWall in the VR world! Brace yourselves as you dive into a whirlwind of immersive action and strategy.
Step 1 - Creating the Stage 🧱☠️
Prepare to immerse yourself in the thrilling virtual reality world of Stage 9: Kinetic KillWall! Let's construct an exciting hallway that will keep you on the edge of your seat.

1.1 Building the Hallway
Create the virtual space for your daring escapades:
- Craft a long, exciting hallway with enticing doorways to explore.
- Construct walls around the hallway to create a thrilling, enclosed environment.
- Use your favorite Color and Material to bring your virtual hallway to life!
1.2 Adding the Kill Wall
Now, let's make things even more exciting!
- Head to the Toolbox and search for "55hpmonk".
- Fetch the "KillWall" and position it at the hallway's end.
- Customize the KillWall with a Color and Material that match your adventurous theme.
1.3 Tweaking the Script
Ensure your KillWall moves smoothly across the hallway:
- Adjust the speed of its movement to fit the pace.
- Edit the end index of the "for" loop.
- Calculated using the hallway's Z-Value divided by the speed.
Remember, if you get stuck, your Code Coach is here to help! Get ready to dive into this electrifying VR adventure and conquer the Kinetic KillWall with confidence and skill!
Medium: Construct a fun-filled walkway with lots of rooms to explore and keep you on the move!

1.1 Creating the Hallway
Let's set the stage for our VR explorer's epic journey! Transform your virtual world with vibrant colors and exciting materials:
- Construct sturdy walls to to create a thrilling environment for our daring adventurer.
- Infuse your creation with vibrant colors and exciting materials to bring your VR creation to life.
1.2 Implementing the Kill Wall
Time to add some action into the mix!
- Navigate to the Toolbox and search for the creator, "55hpmonk".
- Find the "KillWall" and place it at the end of the hallway.
- Customize the kill wall with your preferred Color and Material.
1.3 Editing the Script
To make your kill wall move properly across your hallway:
- Adjust the speed to ensure it's just right for our journey.
- Edit the end index of the "for" loop.
- The formula is the hallway's Z-Value divided by the speed.
Step 2 - Setting Up the Checkpoint 🚩
We've come so far, and that's a reason to celebrate! Now, let's get ready for an even more amazing adventure! The next challenge is just around the corner, promising an unforgettable experience!
2.1 Add Another SpawnLocation
Enter the Workspace and plant a new SpawnLocation to mark our path through this daring journey.
2.2 Customize Properties
Let your imagination run wild as you tweak these properties:
- Choose a Color that matches your adventurous spirit.
- Activate AllowTeamChangeOnTouch to empower your progress.
- Banish any doubts by unchecking Neutral and embracing confidence.
- Ensure the TeamColor matches your SpawnLocation, aligning with your courage.
2.3 Team Building
Keep moving forward! Create a new team in your Teams folder and explore new possibilities!
- Let's keep things organized! Make sure to uncheck the 'AutoAssignable' box.
- Bestow upon it the name "Stage 10," a testament to your resilience amid challenges.
- Let its TeamColor reflect the boldness of your SpawnLocation.
Hard: Make the doorways flicker on and off to add an exciting twist!
If you want more of a challenge by recreating the video yourself, follow these steps:
Let's raise the stakes in Stage 9 by adding a thrilling twist to our doorways - they'll flicker on and off, adding an extra layer of excitement to our adventure!
Description
We are going to create a script that makes a part in Roblox change its color and whether it can be collided with or not. Here's what we want to accomplish:
Step 1 - Change Color:
The part will switch between green and red.
Step 2 - Toggle Collision:
The part will change whether it can be collided with or not when it changes color.
Step 3 - Repeat Continuously:
The part will keep changing color and collision status in a loop.
By doing this, the part will keep switching colors and collision states, creating an interesting effect.
Instructions and Code Logic
Step 1 - Set Up the Starting Variables:
-
Create a variable for the part by setting it to the
Parentof the script. -
Create a variable for the green color.
-
Create a variable for the red color.
-
Create a variable for the delay between swaps (
swapDelay).
Step 2 - Create a Function:
-
Define a function named
swapColor. -
Inside the function, change the part's color to green and set
CanCollideto false. -
Pause the function for the
swapDelay. -
Change the part's color to red and set
CanCollideto true. -
Pause the function for the
swapDelay.
Step 3 - Create an Infinite Loop:
-
Create a loop that runs forever using
while true do. -
Inside the loop, call the
swapColorfunction to keep swapping the part's color and collision status.
Putting It All Together
-
Start by setting up your part and color variables.
-
Define a function named
swapColorto change the part's color and collision status. -
Inside the function, switch the part's color and collision state and pause for the
swapDelay. -
Create an infinite loop using
while true doto keep calling theswapColorfunction.
Hooray! By navigating the twists and turns of Stage 9: Kinetic KillWall, you've showcased incredible bravery and ingenuity! Now, brace yourselves as we journey onward to conquer even greater heights in Stage 10! New adventures eagerly await your arrival in the thrilling VR world! 🌟
